How I made this photo pt3...

Ok guys, for part three of this series I am going to talk about one of my favourite photos… Now I am not picking this photo only because I love it, it takes some skill & practice to create this panned effect… In this blog post I am going to share with you in detail how I captured this shot… I will talk about technique & post processing so that you can go out, practice this technique & share your results with everyone…

I captured this photo whilst I was visiting Italy in 2014… My wife & I started our trip in Milan, Italy which made a great place for some interesting street photography… As often is the case hunting for a good shot left me frustrated… It is easy to get discouraged if your results are less than what you had expected when out shooting street photography but the key is to just keep the camera close by & ready… Remember even ‘pro’ street photographers claim to only take a handful of good photos each year!

We were walking down a busy street & all of a sudden the sky’s opened… A sudden down pour left us scouting out locations for shelter… Perched under a tree near the side of the road we ‘people watched’… People were franticly rushing around, trying to avoid getting wet… Umbrellas were up, making for some more interesting photos… I was shooting & enjoying it, the rain was almost acting like an invisibility cloak, people just didn’t see me… They were too caught up with avoiding the rain… I noticed the cyclists were bombing it to get from A to B… Using umbrellas on a bike looks amusing to me, I figured it had the potential to be a good shot so using an umbrella myself I stood closer to the road starting practicing some panned photos of the cyclist & people on mopeds… 

Panning is a technique where you follow the motion of the subject you are photographing with the camera whilst using a slow enough shutter speed to create some motion blur in the background… I found that a shutter speed of between 1/50th & 1/100th worked well in this situation… Too slow & the subject won’t be sharp, too fast & you won’t create the effect as much… For this photo I was shooting my trusty x100s, the setting were as follows : 1/80th,f5.6, 400 ISO… As you can see on the crop below this enabled me to get a perfectly sharp subject & in my opinion this is one thing that really makes this photo pop...

There are a few factors that came together to create this photo… Firstly was the fact that I had my camera on me… I can’t stress how important it is to carry a camera with you as much as possible… Photo opportunities are always popping up & this is where a Fuji camera has an advantage over a DSLR for example… Fuji’s cameras are small & dare I say it stylish… Yes, we all know part of the Fuji appeal is the hipster goodness so don’t fight it… Embrace it… The fact that Fuji’s cameras are small and look sexy as hell mean that I want to carry mine more often & you should too if you want to capture more moments like this…

Other than the fact I had my camera on me at the time, the weather played a huge roll in giving this phot some extra punch... For a minute imaging the chap on the bike was simply riding along without striking the pose he is… The photo is still nice but it doesn’t have the same impact… If it wasn’t raining he wouldn’t have been using his bag to shield his face from the rain… Next up is the guy himself… If he was dressed all scruffy the photo wouldn’t have had the ‘class’ that it does… This guy is dressed well head to toe & to top it off he is riding what looks like a nice old classic bike… Bang, more punch added to the image again…

The last part that makes this image for me are the road markings… I stood in this location for a reason… I like the bike markings on the road… I will however always kick myself about clipping the front off the arrow… Dammmm!

Post production for this image was fairly easy… I used one of my Black & White presets and had a little tinker to add a bit of contrast and grain… If you look below you can see all of my Lightroom modifications to get this photo to how you see it now… Feel free to copy them & share your images below to see how you get on recreating this look…

Lets wrap this up... What are the take home messages from this post…

  1. Keep your camera with you as much as you can (the x100 range is great for this)
  2. Rain can make for interesting photos not only because of how people react, but because it helps you become ‘invisible’…
  3. Learn to pan… Try shooting cars or bikes at 1/50th – 1/100th for practice and post your results below… Prefocus to the spot where you want the subject to be when you pull the trigger... Remember to move your camera before you take the shot & carry on moving afterwards… Think about how you would shoot a clay pigeon with a shotgun… You need to move the camera at the same speed as the subject to keep the subject sharp with slower shutter speeds...

I hope you have enjoyed reading... Now get shooting & post your photos below!

As always please like, comment & subscribe...

Howard

How I made this photo pt 2

After posting this image & getting a few requests for a bit more detail on how this photo was made I figured it would be a good idea to make it part two of this series…

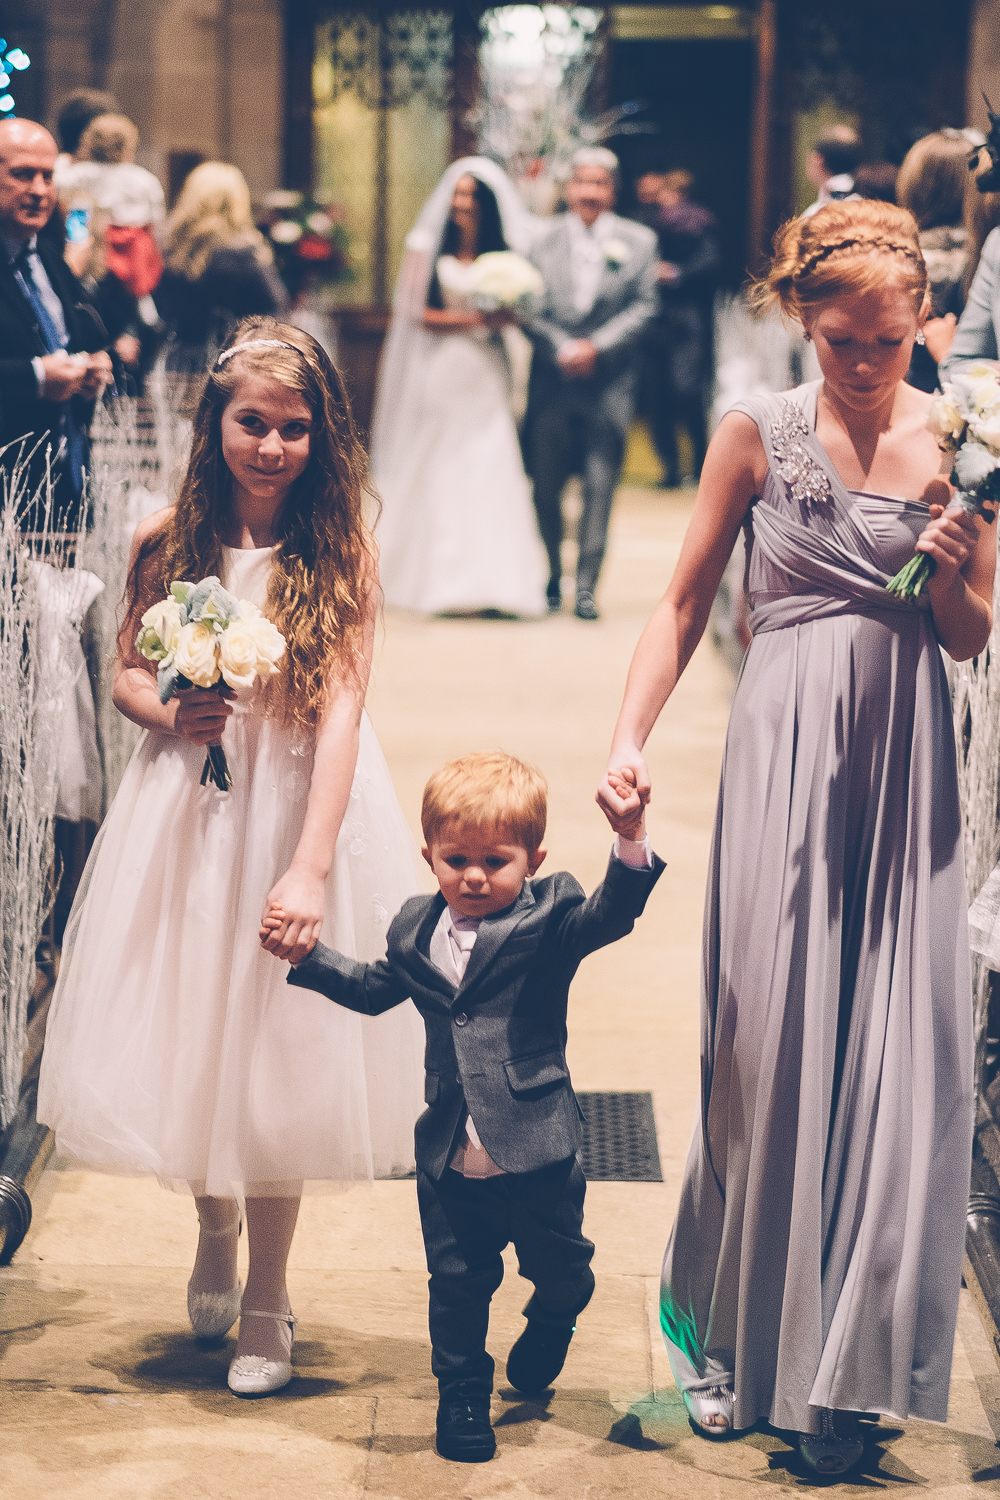
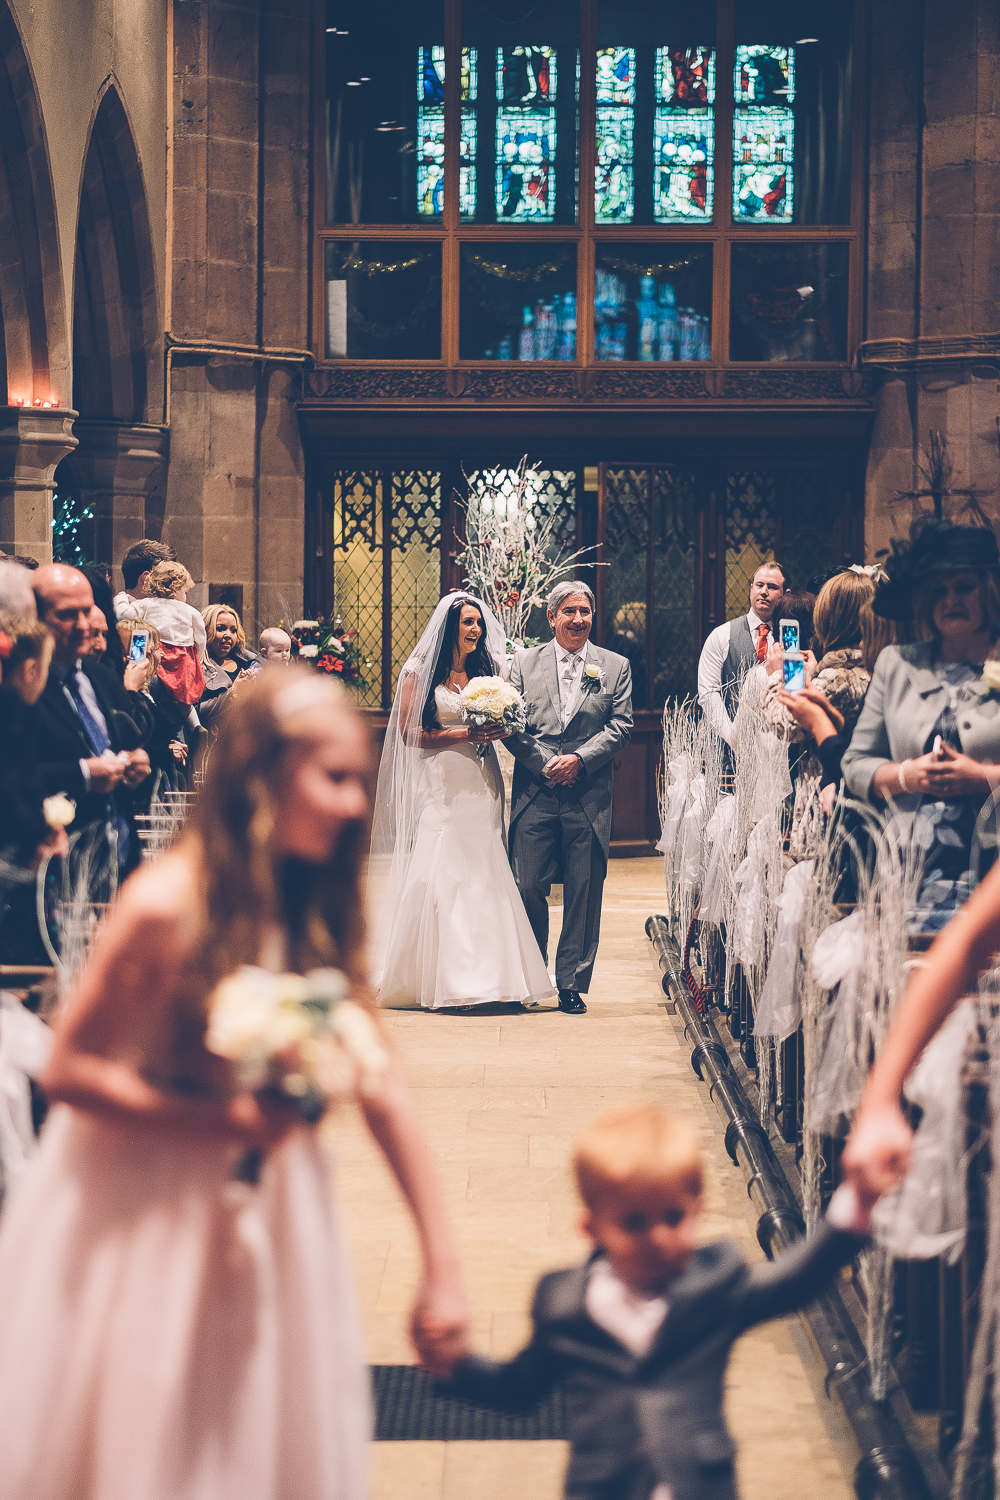
Photography by Howard's Photo - Walking down the aisle

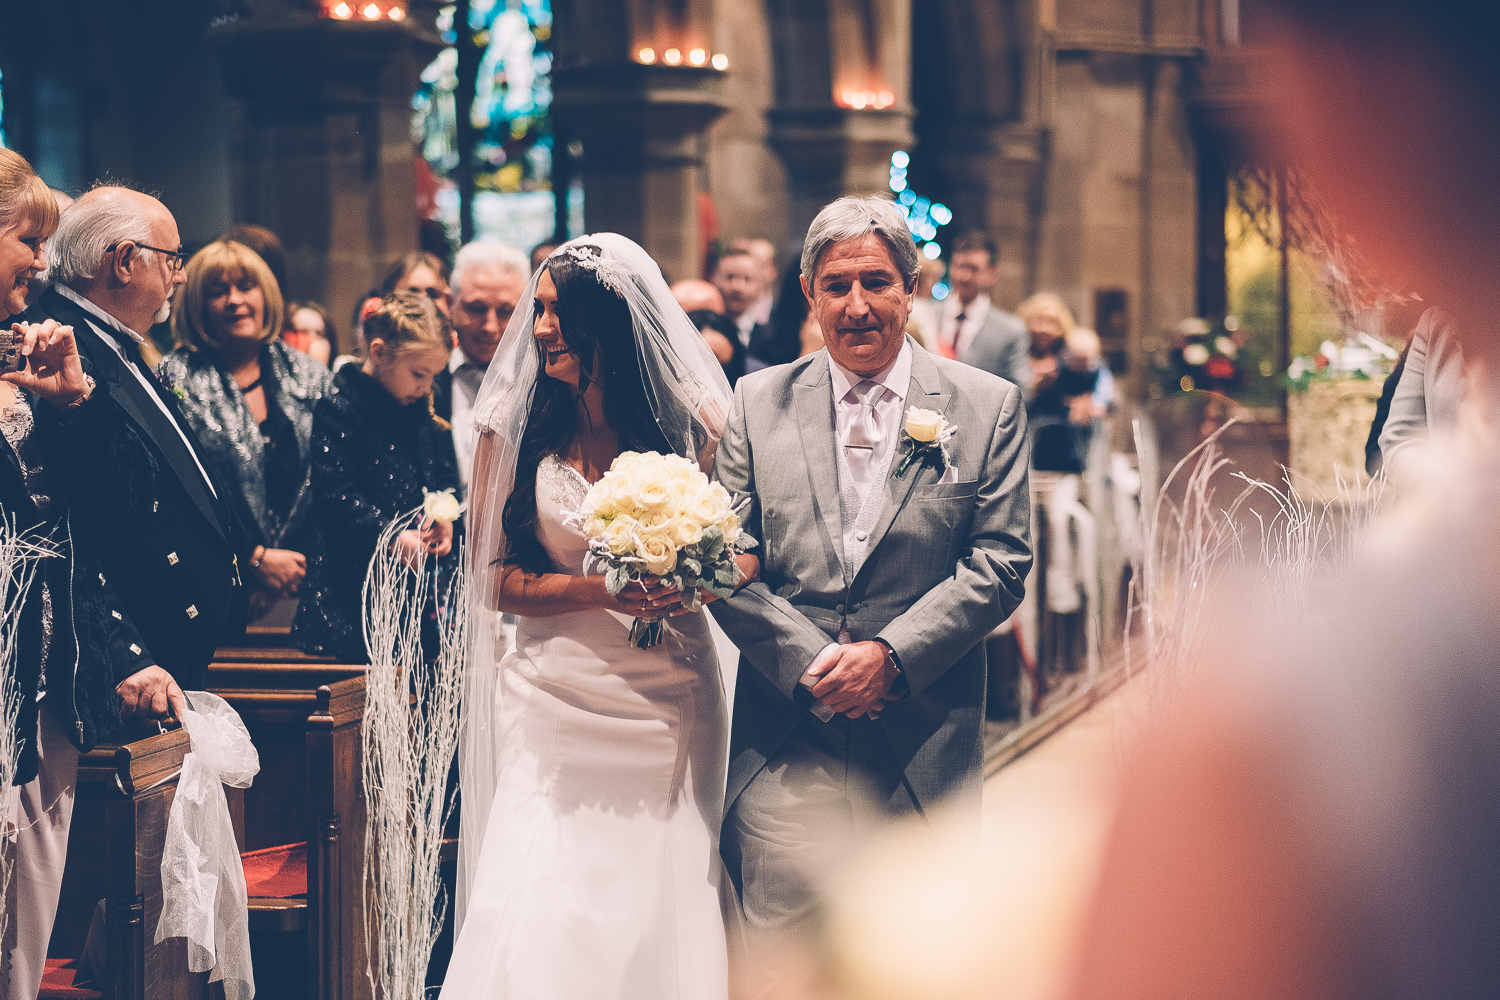
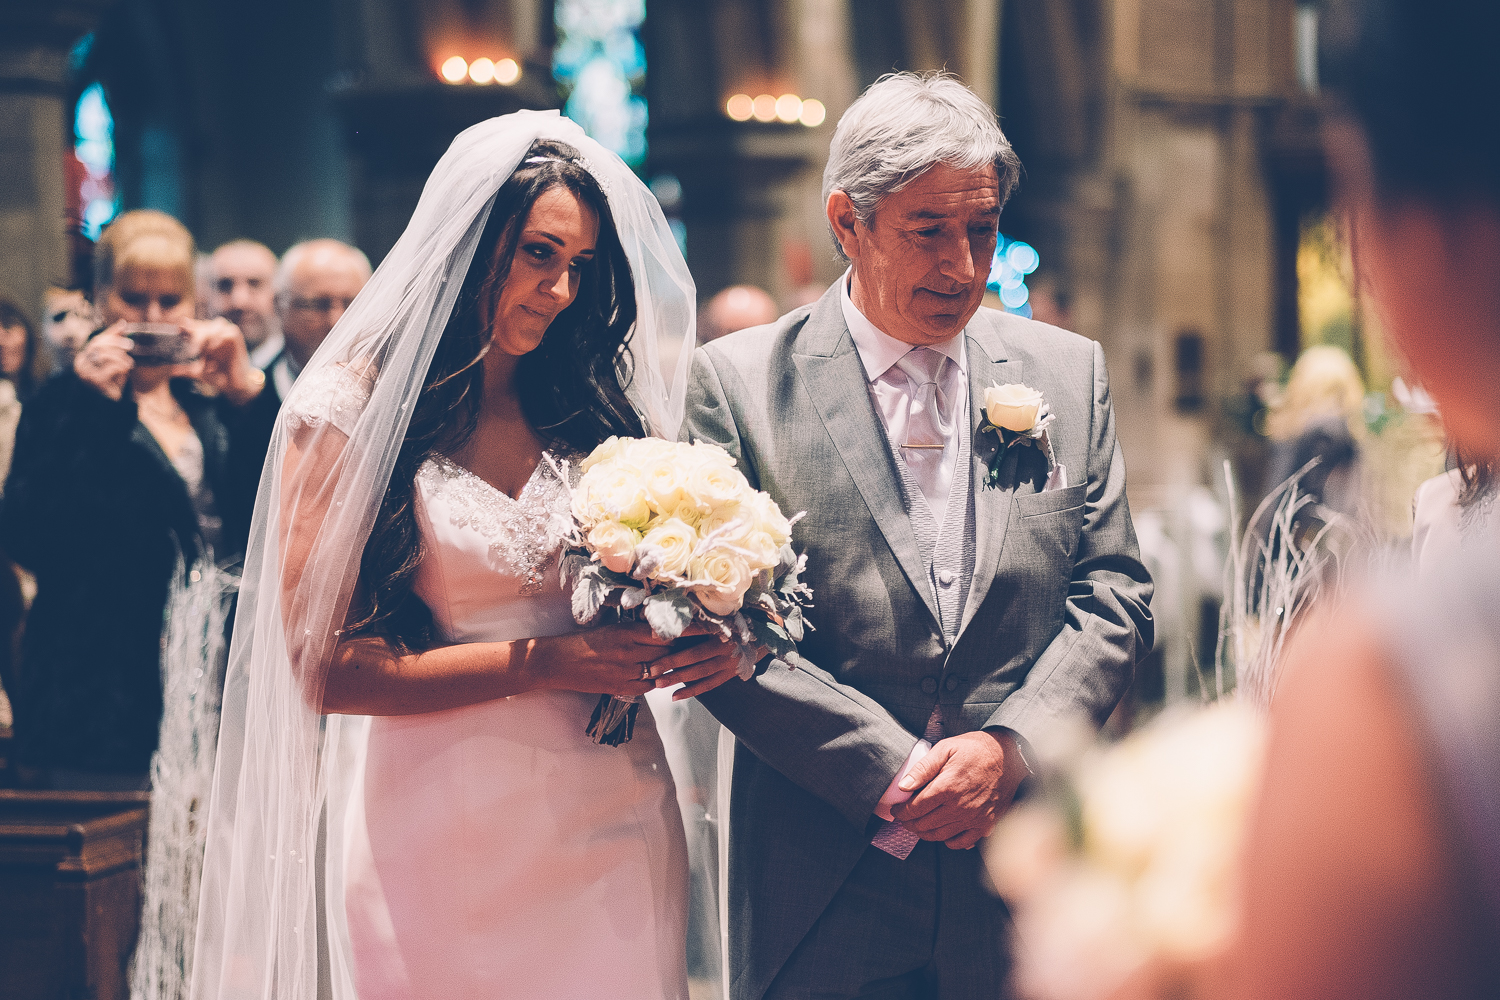
One comment suggested this photo had a cinematic feel to it. I feel this is not only down to the post processing but also due to the way the photo was captured. For those of you who want to know what equipment was used here it is. I used the Fuji XT-1 with 56mm f1.2 lens. The camera was in manual mode set to 1/125th, f1.2, ISO 1000 in single auto focus mode with the focus patch as large as it would go…

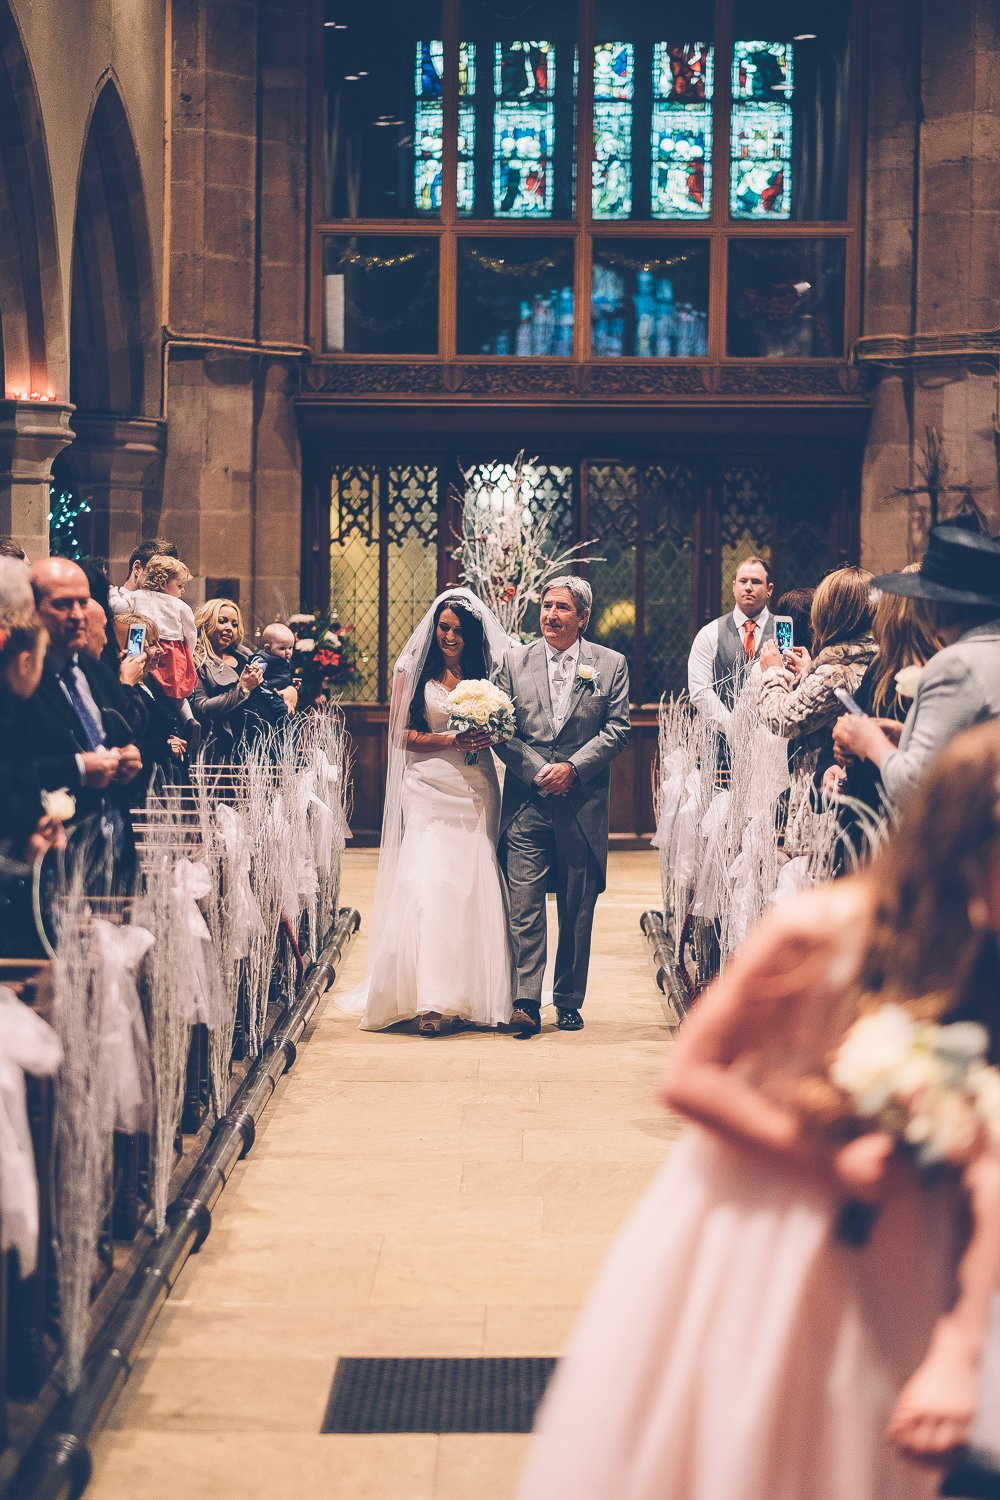
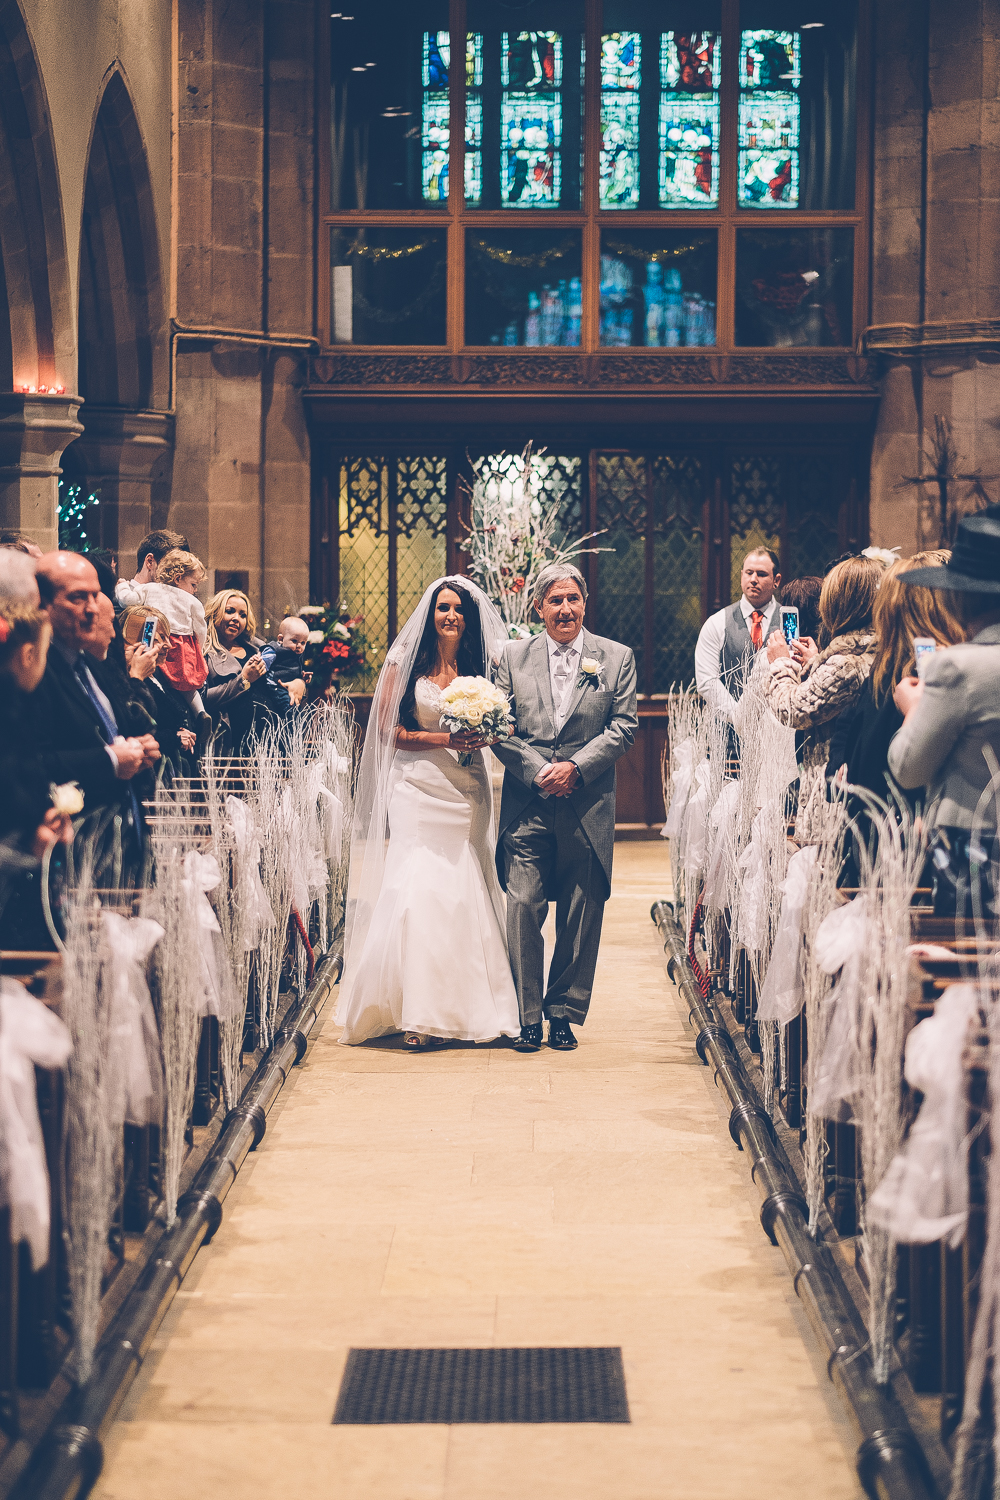
Below are the series of images coming before and after this main one. Seeing what came before & after can help demonstrate what makes this photo stronger than the rest. Hopefully that makes sense! It does to me at least.

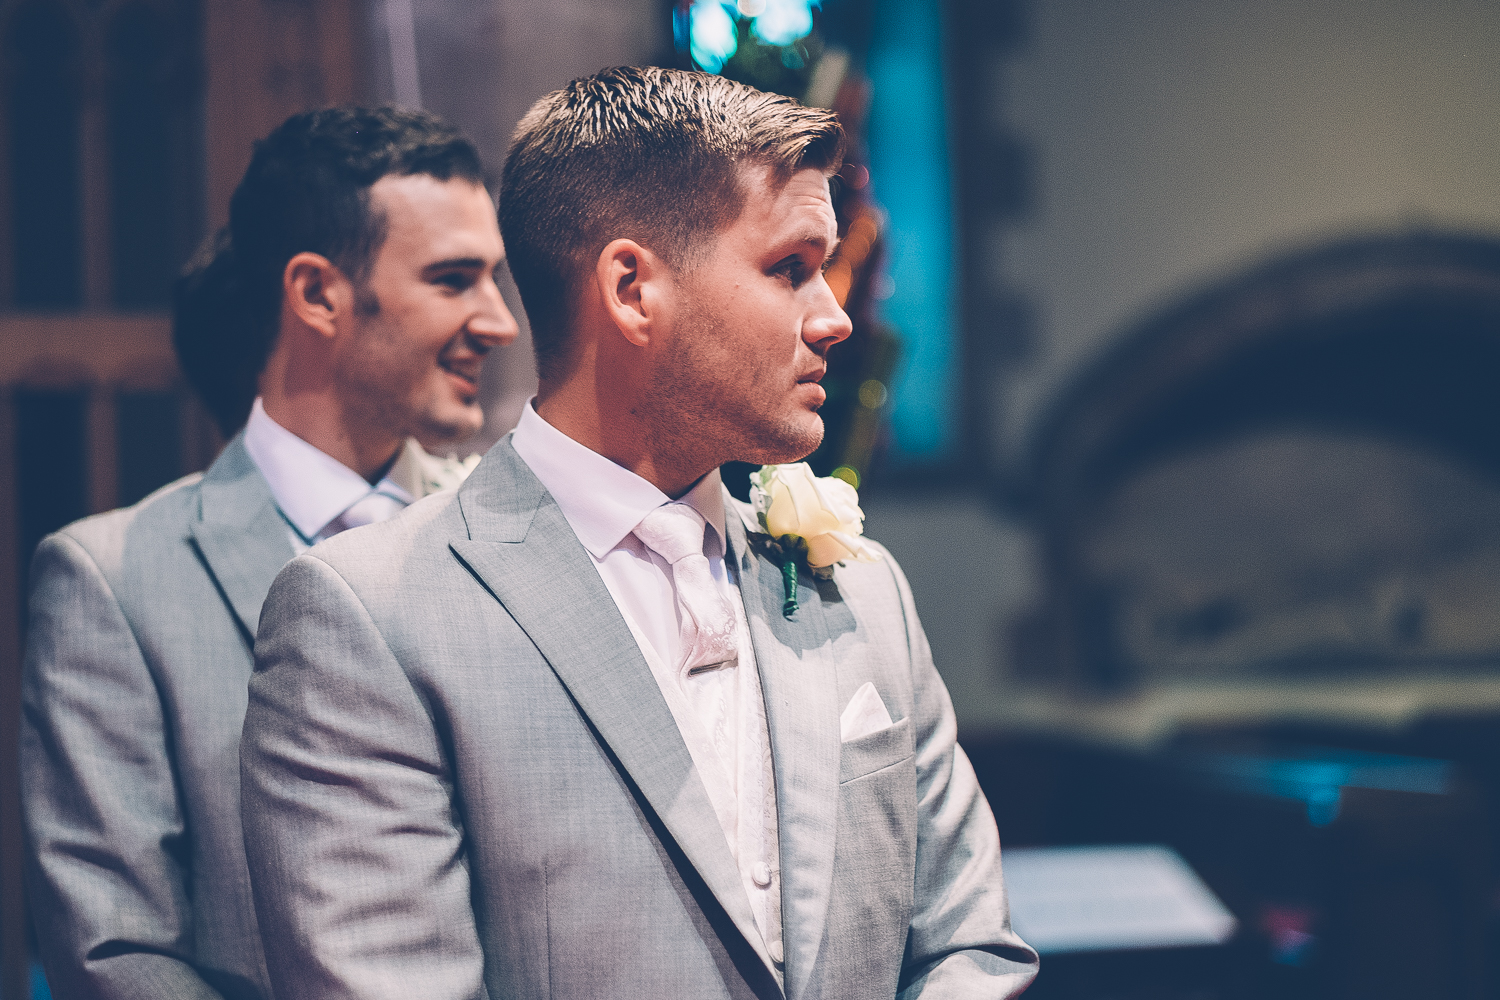
Above you can see the slideshow of photos. To me the images that came before are not as strong. They appear ‘flat’ with little depth. You can't see the faces of the guests either. I decided to move across to the right to grab a shot of the groom waiting for his bride & continued to shoot the Bride & her father as they approached. Here are where a few things come into play that in my opinion help to make this a strong image. 

Firstly I tucked myself in behind one of the bridesmaids & used her to help add some depth to the photo. Having the bridesmaid out of focus in the foreground really does help to ‘put you in the scene’ making you feel more connected to the photo. Without the bridesmaid in the frame it would appear a little ‘flatter’.

Secondly is the equipment used. I don’t like to thank the equipment for ‘making’ photos but in this case it is helping. The XT-1 nailed the focus & the shallow depth of field created by the 56mm 1.2 at 1.2 helps to soften the background even at this distance, again helping to give that ‘cinematic’ feel.

The third thing that help this image is the post processing. Below is the original RAW file. As you can see the image is still strong. The composition is perfect (for my taste) & the exposure is about right already.

RAW file from the XT-1

RAW file from the XT-1

Now that you have seen the original file here are some screen prints from Lightroom down below. I used one of a few presets that I currently have with just a tweak to the exposure. I believe they are VSCO based presets. As you can see a bit of Lightroom love goes a long way in achieving that ‘cinematic’ look. Flattening the image out in the tone curve, highlights & shadows sliders helps to give a slight film like look. This preset works well for this photo but it doesn’t always work. Sometimes this preset will flatten the image too much.

Feel free to copy & use this preset. But please post some of your images below. I hope you have enjoyed reading this post. It is a little rushed but I don’t have much time this week…

As always please Like, Comment & Subscribe.

Howard

How I made this photo pt1

Ok so this may seem a bit of a boring one to start off with but I figured I would feature it as it does demonstrate the use of some of the current features we have with our X cameras... In this post I will cover the whole set up & show you how I got it from its starting point to the finished edit... 

The Fuji 35 1.4 is so sharp even this spike fella is a bit on edge...

As a part of my cactus collection this spike little guy is a great test subject for testing out lenses... His sharp bits are really sharp & there is enough depth to judge the smoothness of the lenses bokeh... Perfect... 

The lighting set up for this photo was simple... No need to get fancy here, just an 18 watt bulb in this small desk lamp... The ambient lighting in the room was fairly low too & this is worth noting... I will elaborate on that shortly... 

The light was to camera right at 45° up & 45° across from the subject... A typical Rembrandt lighting set up using only one light with little fill from ambient light in the room... This is a great technique for giving the photo that extra pop & level of sharpness... Using one light in this fashion gives contrast & contrast adds to the effect of a sharp image... The image to the right demonstrates the set up... 

As you can see this is a fairly warm light but thats no problem for the fuji cameras... WB was left in AUTO & I did not touch it after!

Another factor that plays a significant roll in image sharpness is camera technique... Good focus, shutter speed & aperture all play a roll when you are trying to create a sharp photo but so too does your hand holding ability... My camera settings for this shot were as follows : 1/125th, f2.8, 2500 ISO... Shooting this image at 1/125th was quick enough to avoid any camera shake, on top of that I also made sure to get a good solid base by resting on the desk... I chose to shoot this at photo at f2.8... I wanted enough detail to be in focus to allow the photo to pop but also wanted a fairly shallow depth of field to give a nice effect... ISO was the last setting in the exposure triangle & I simply set it where it needed to be based on the real time exposure preview that these great mirrorless cameras offer...

Some purists may look at the above image & ask 'why is he using the screen & not the EVF?'... Well there are a few reasons... Firstly & most importantly is because for close up work like this, sitting upright & looking at the screen is more comfortable... I have a desk to rest on so it made sense... I can brace myself & remain more stable... Secondly is down to the focus peaking & nailing it... I shot in manual focus & used the AF-L button on the back of the XT-1 to prefocus to roughly where I wanted to be... I then moved the camera in & out while watching the focus peaking do its thing on the LCD screen... Doing this is much easier with the screen than trying to do it with the EVF... 

The screen prints above are of all my Lightroom Modifications... These are based on one of a few colour presets I use so please fee free to copy it, use it & post your images in the comment section... Below is a tight crop for all of you who want to see how sharp the cactus really is...

Dammmm! So so sharp!

For those people wondering what the image looked like to begin with I have posted a comparison between the RAW file & the final edit... Here you can see just how important post processing is with this example...

Lets wrap this up & cover off some key point that came together to create this photo...

  1. Lighting - For tight work like this were you are trying to create sharp looking images experiment with one light source to give extra contrast...
  2. Use the screen - Don't be afraid of using the screen on the back of your camera... If you can get more stable then go for it...
  3. Post Production - Sharpening has a lot to do with post production... Don't be scared of adding sharpening in post... It will really give your photo the edge it needs...

Anyway people, I hope you have enjoyed reading & maybe have learnt something new... Please put these techniques into practice & share your results below...

As always, please like, comment & subscribe...

Howard

p.s. The next part of this series will feature one of my favourite photos ever... It is a street photo & I will talk about how to become invisible on the street & g into a little detail about panning... Stay tuned...