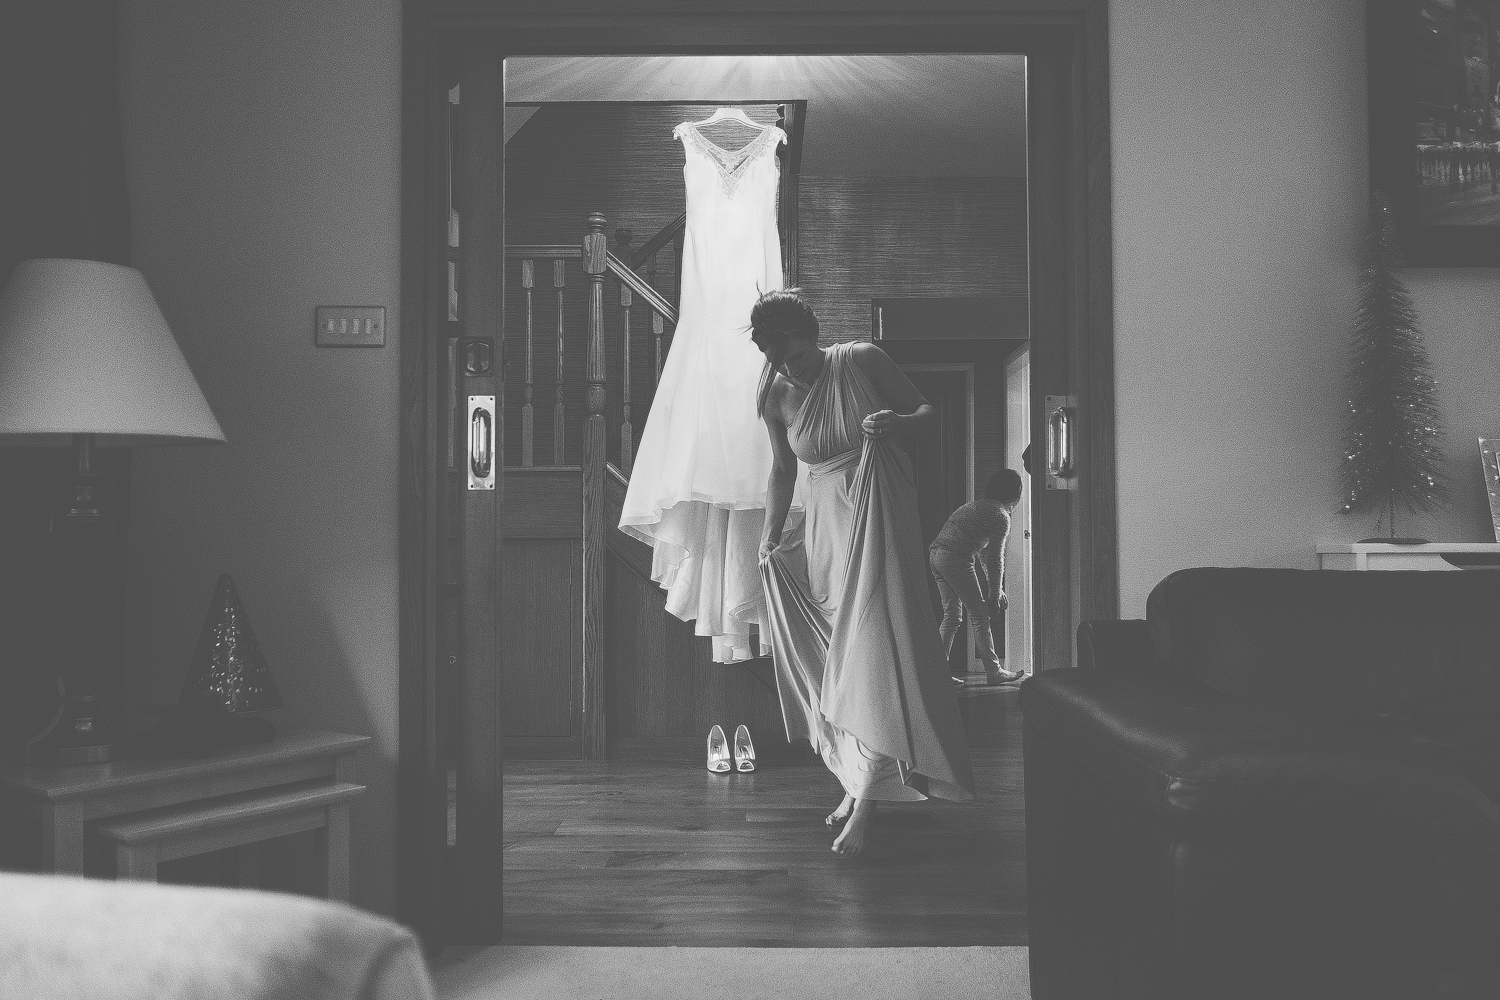
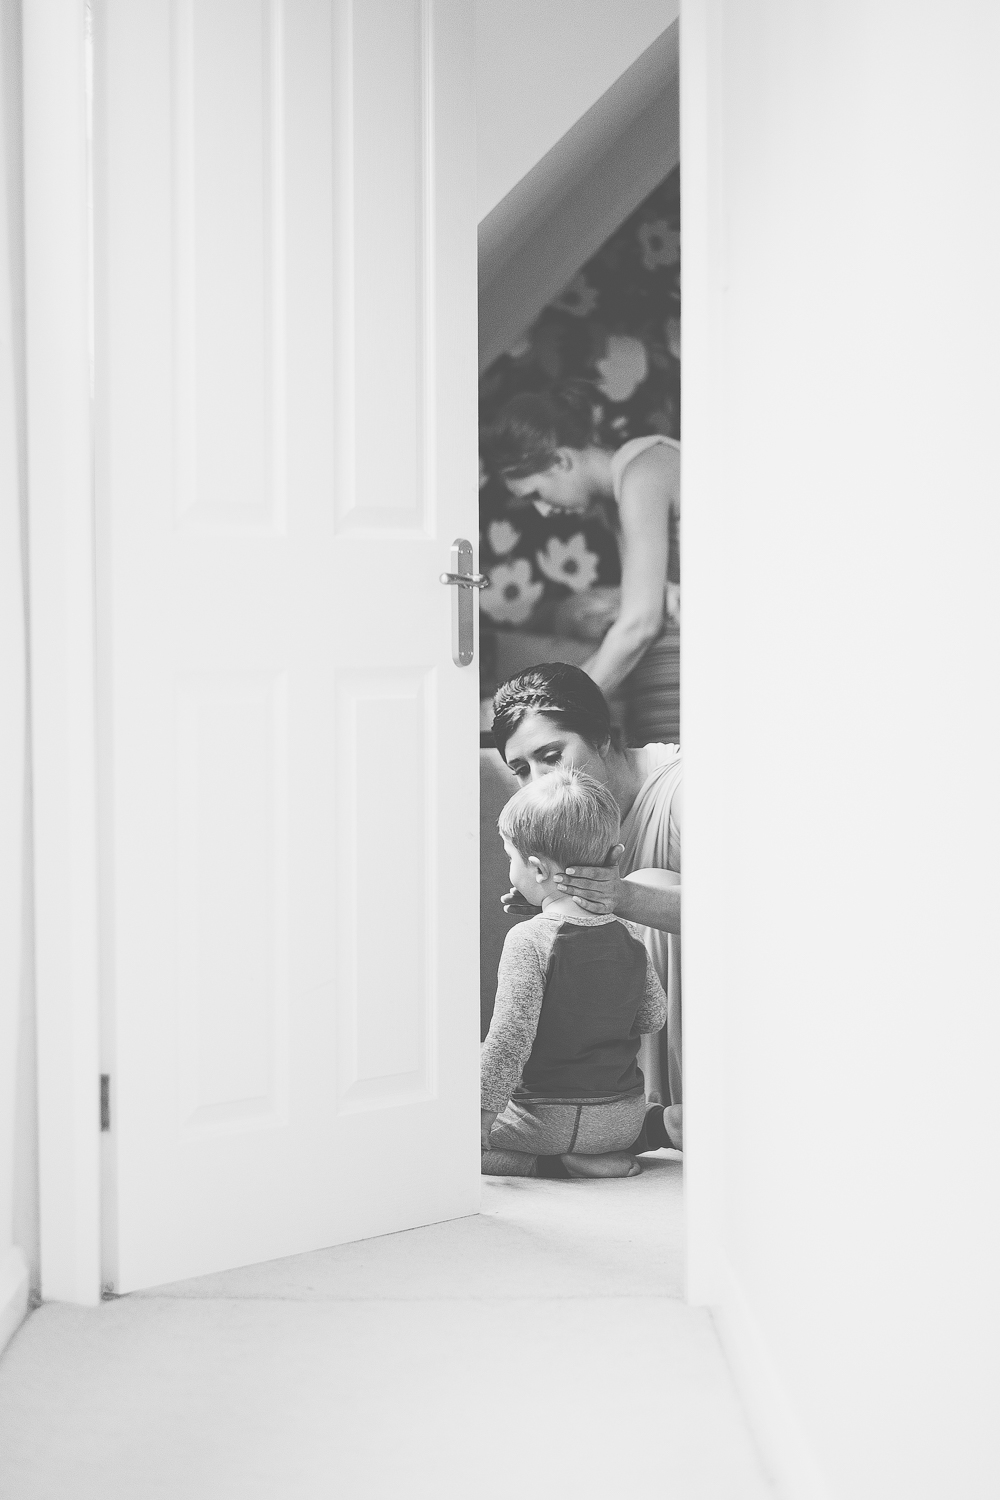
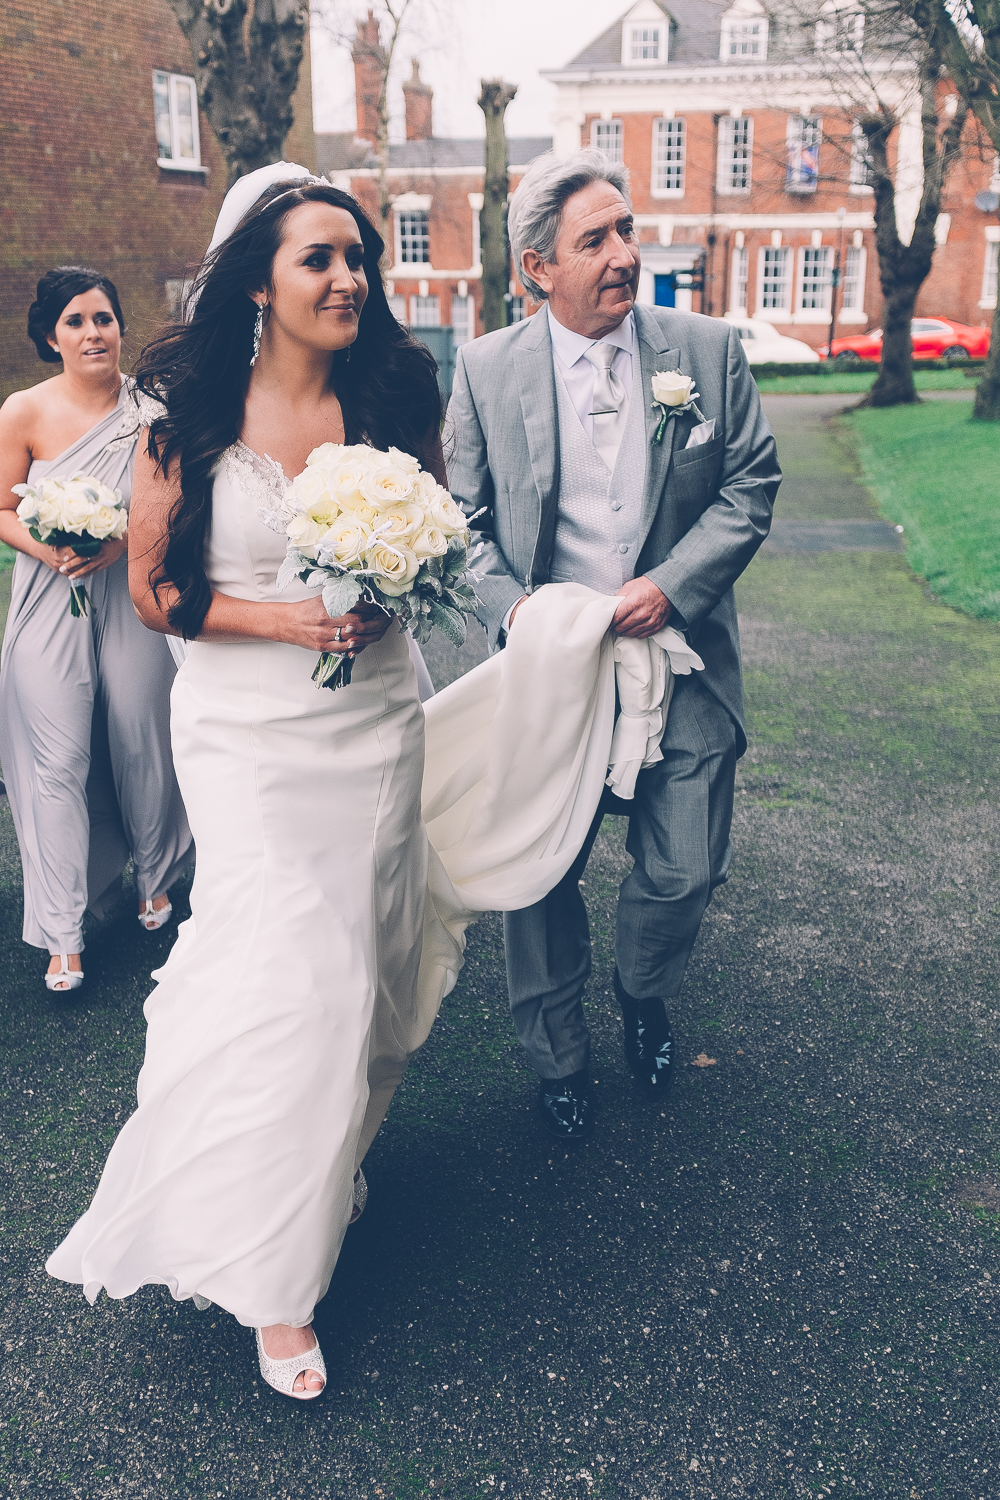
After posting this image & getting a few requests for a bit more detail on how this photo was made I figured it would be a good idea to make it part two of this series…
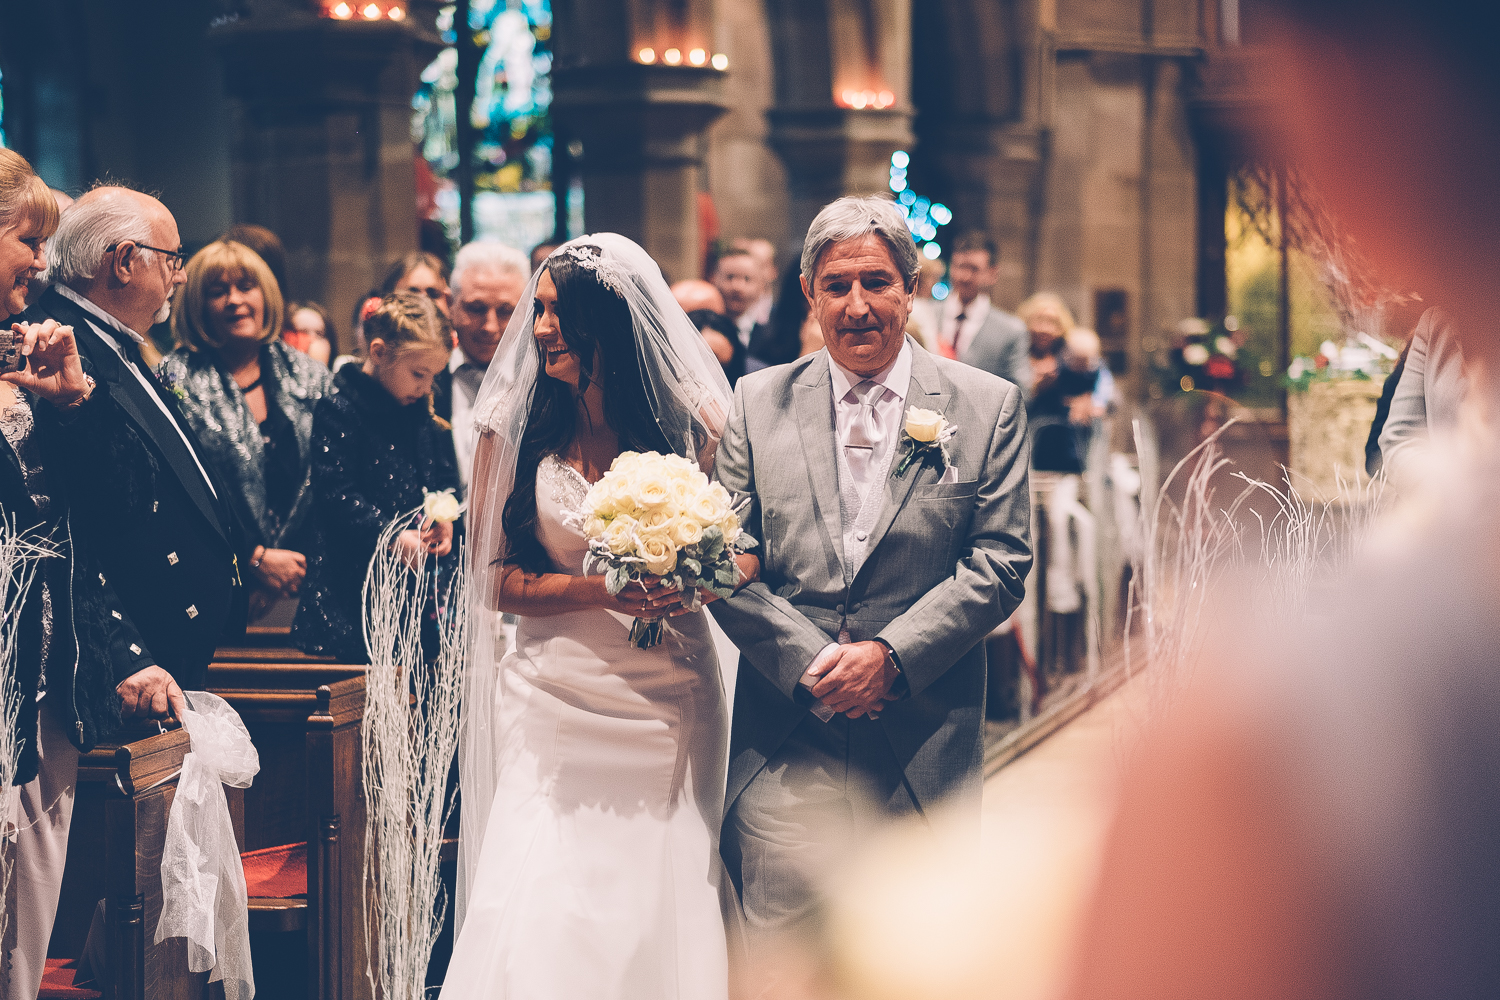
One comment suggested this photo had a cinematic feel to it. I feel this is not only down to the post processing but also due to the way the photo was captured. For those of you who want to know what equipment was used here it is. I used the Fuji XT-1 with 56mm f1.2 lens. The camera was in manual mode set to 1/125th, f1.2, ISO 1000 in single auto focus mode with the focus patch as large as it would go…
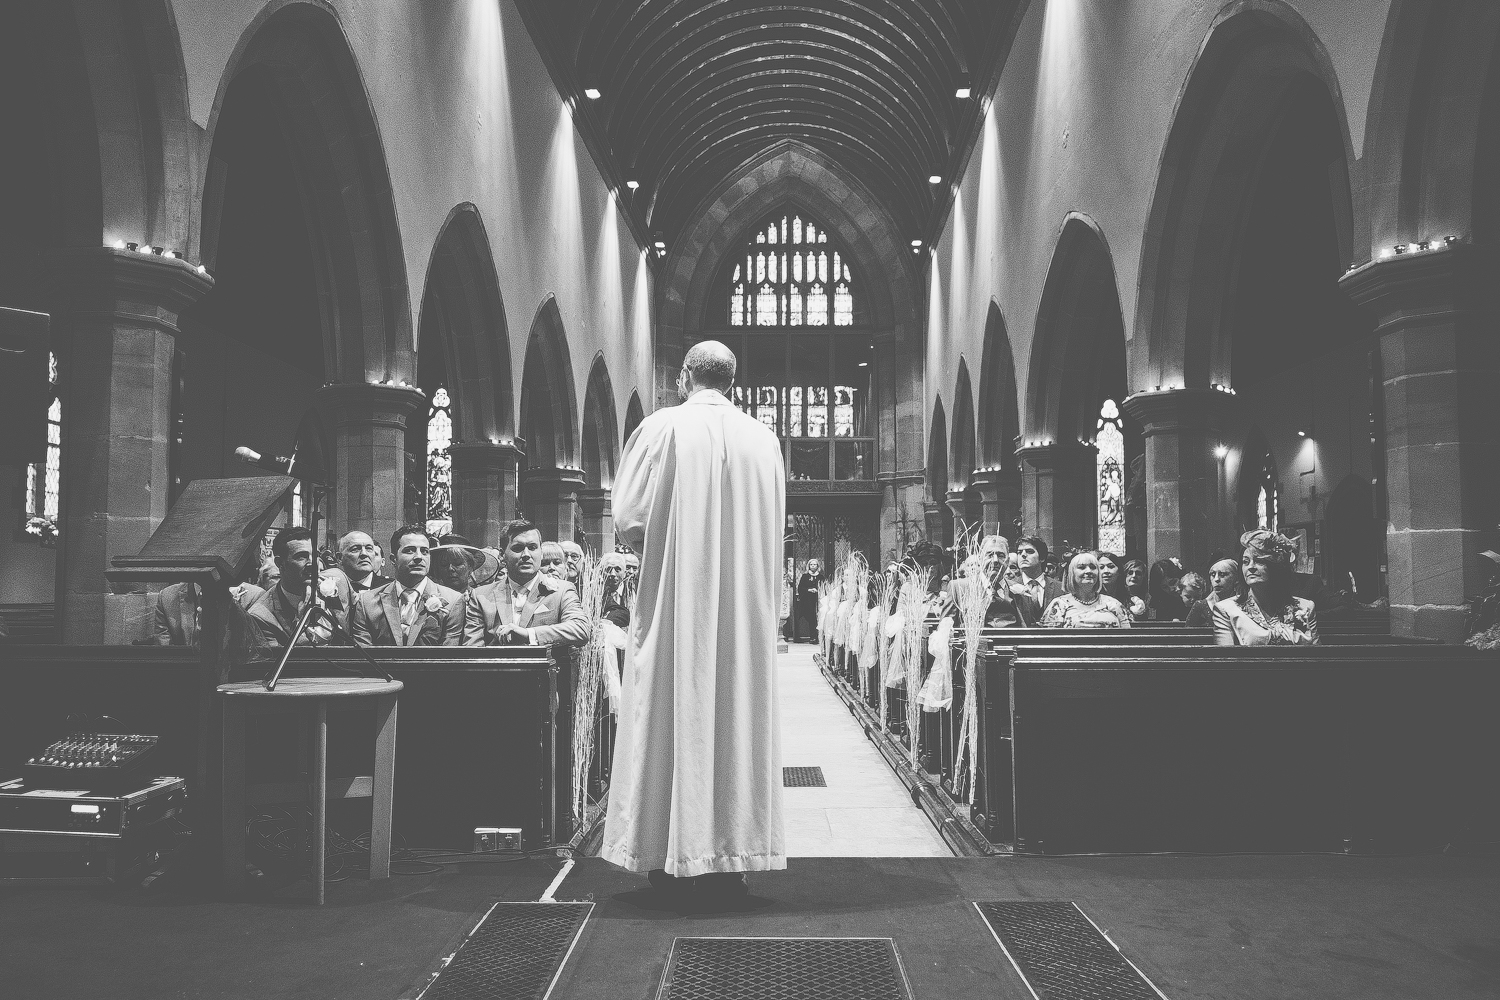
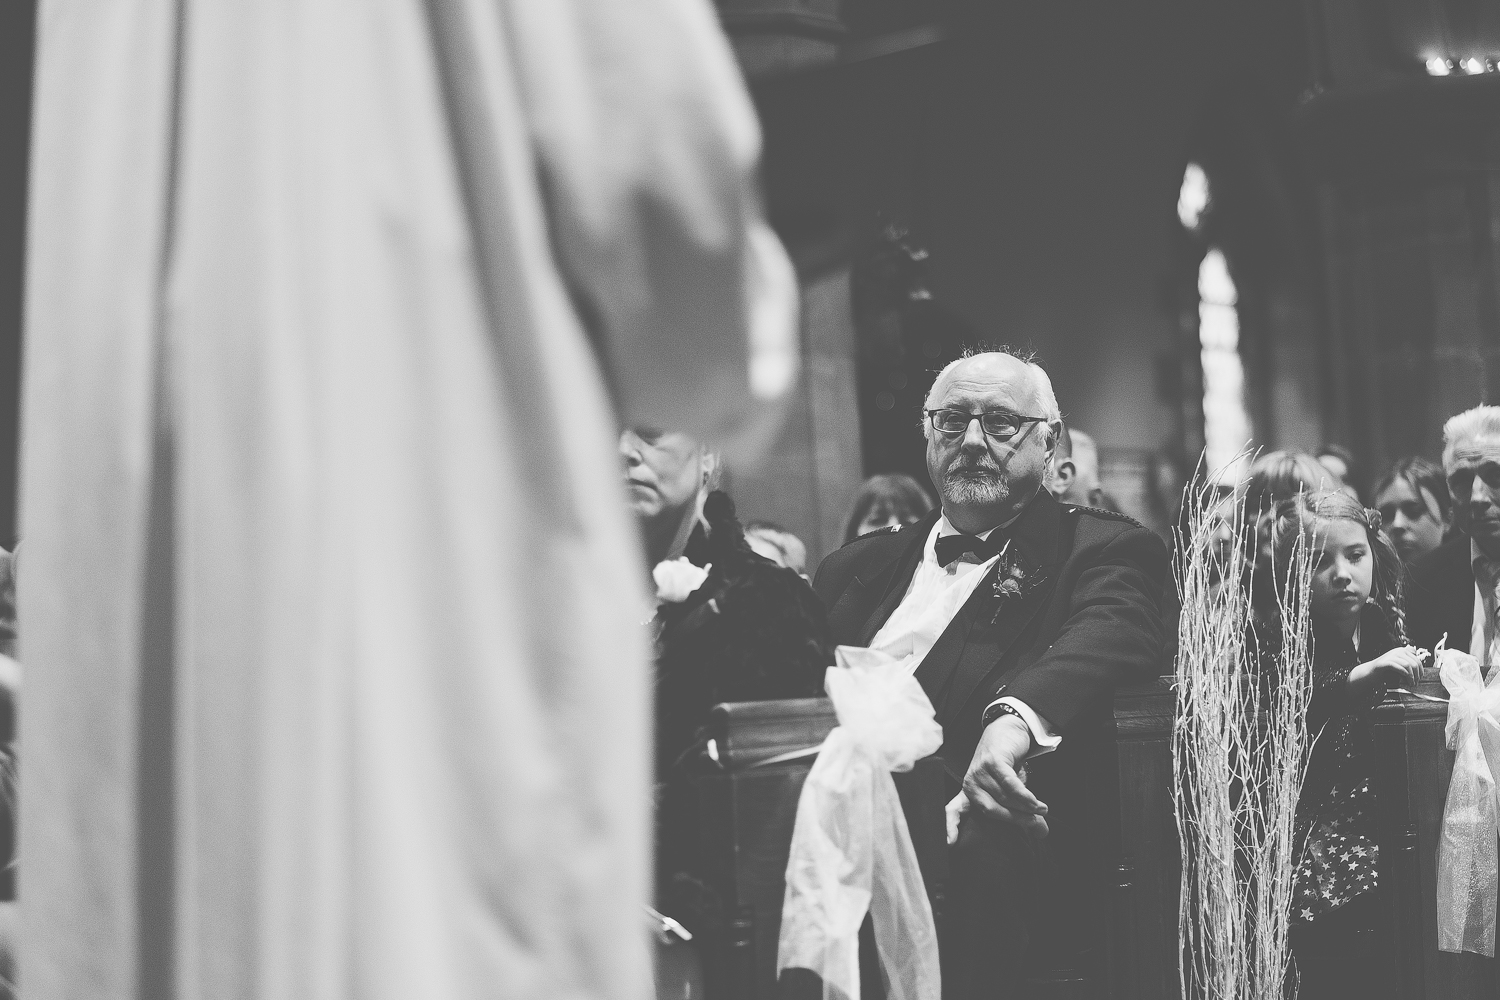
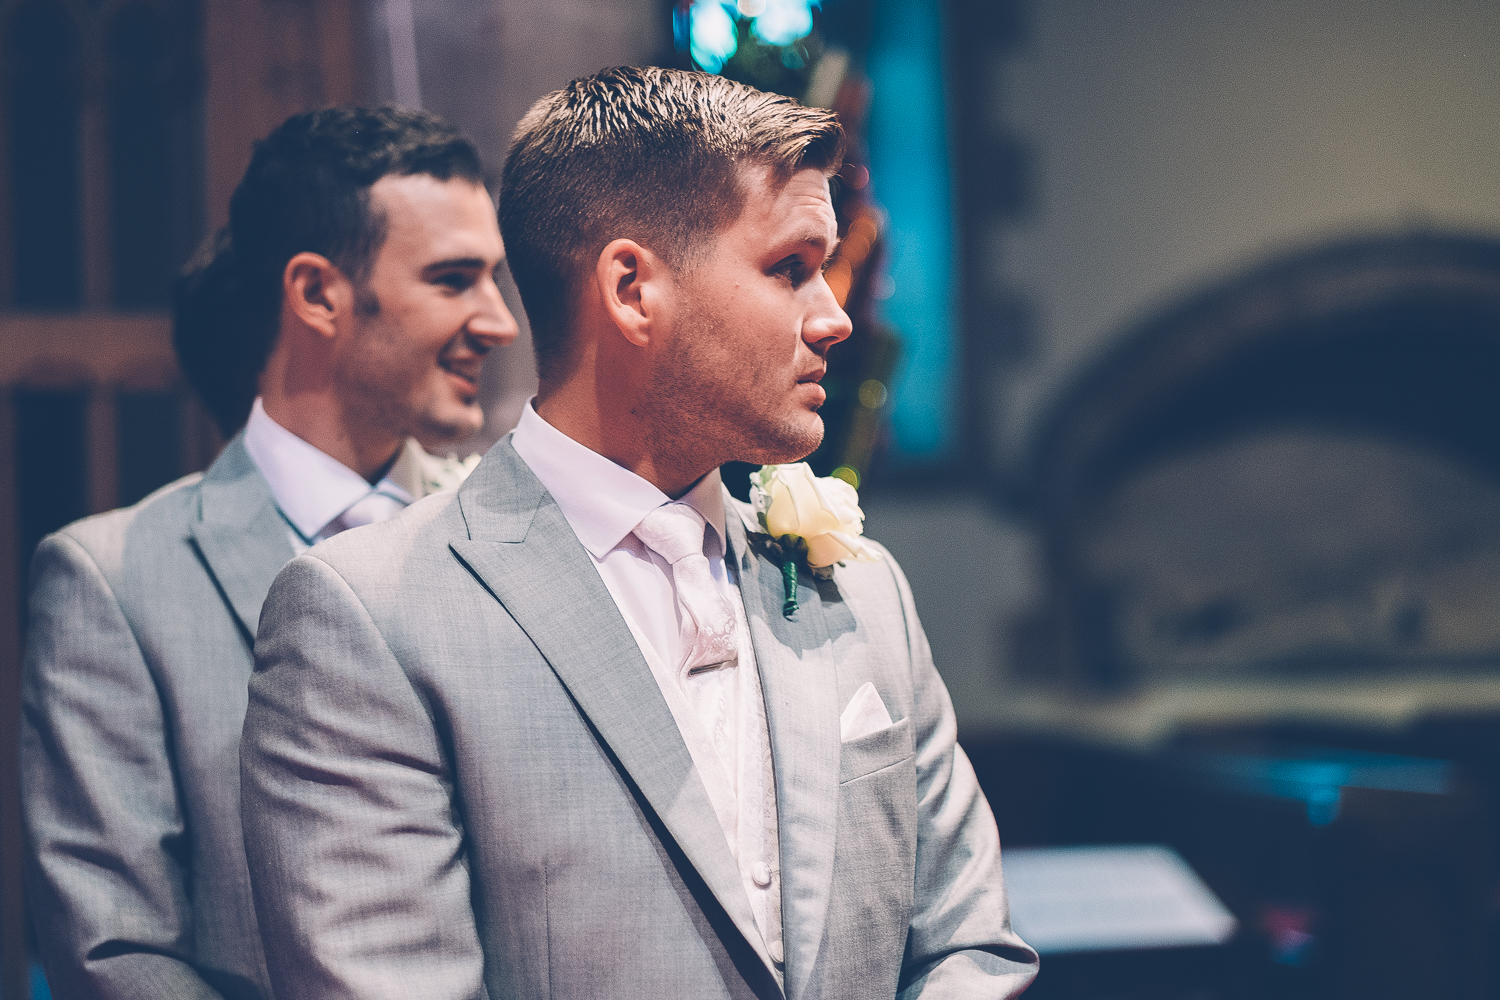
Below are the series of images coming before and after this main one. Seeing what came before & after can help demonstrate what makes this photo stronger than the rest. Hopefully that makes sense! It does to me at least.
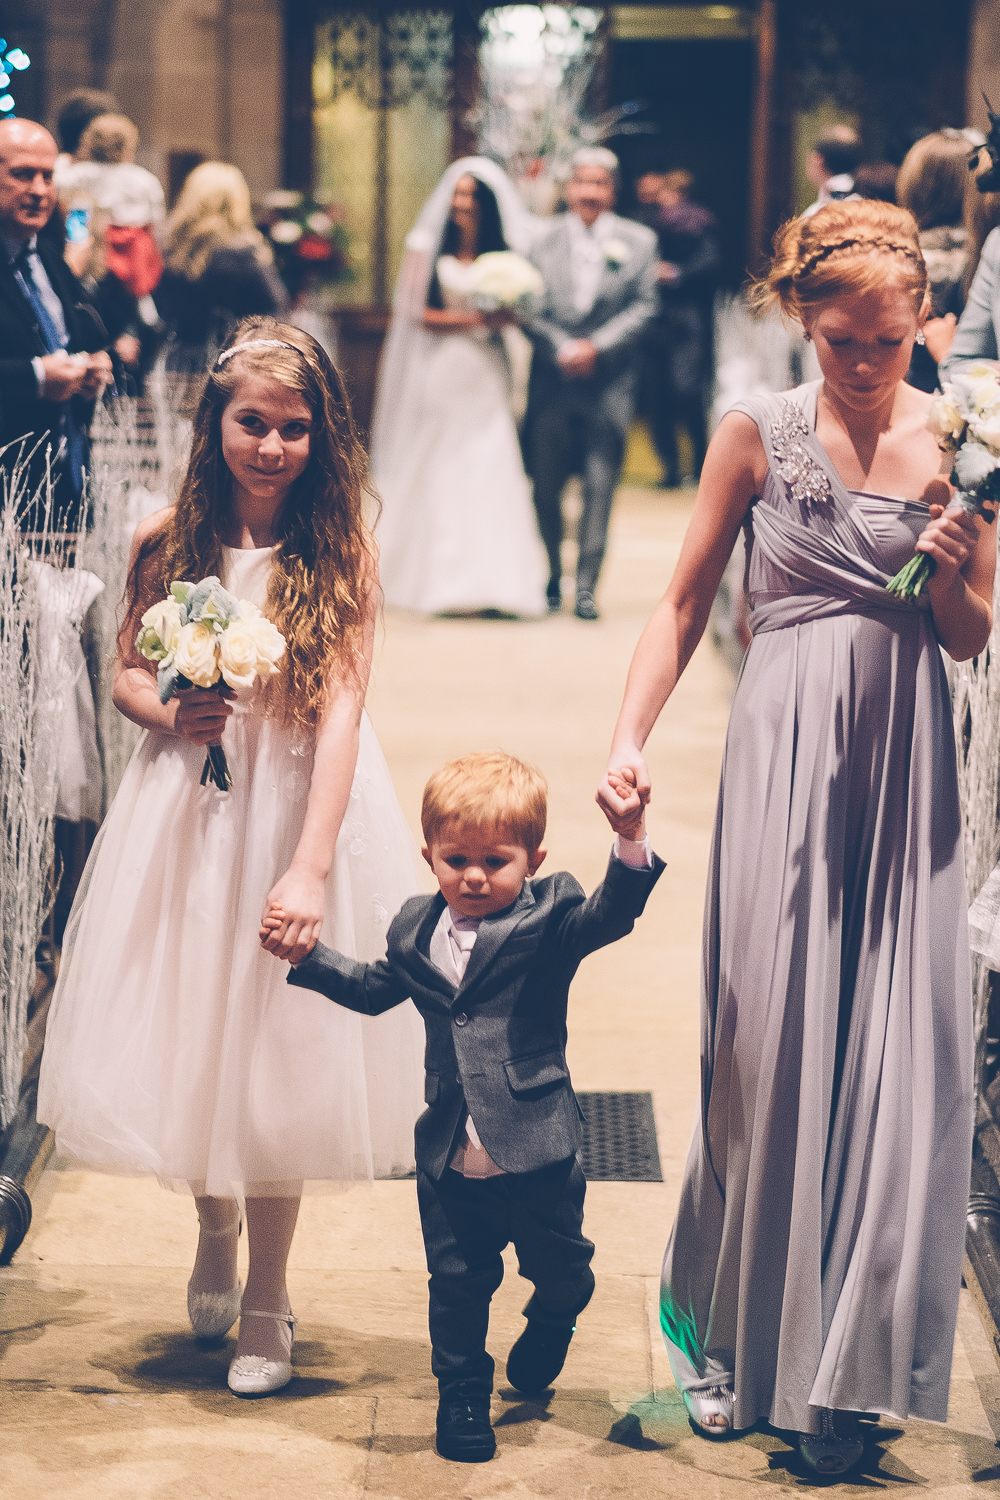
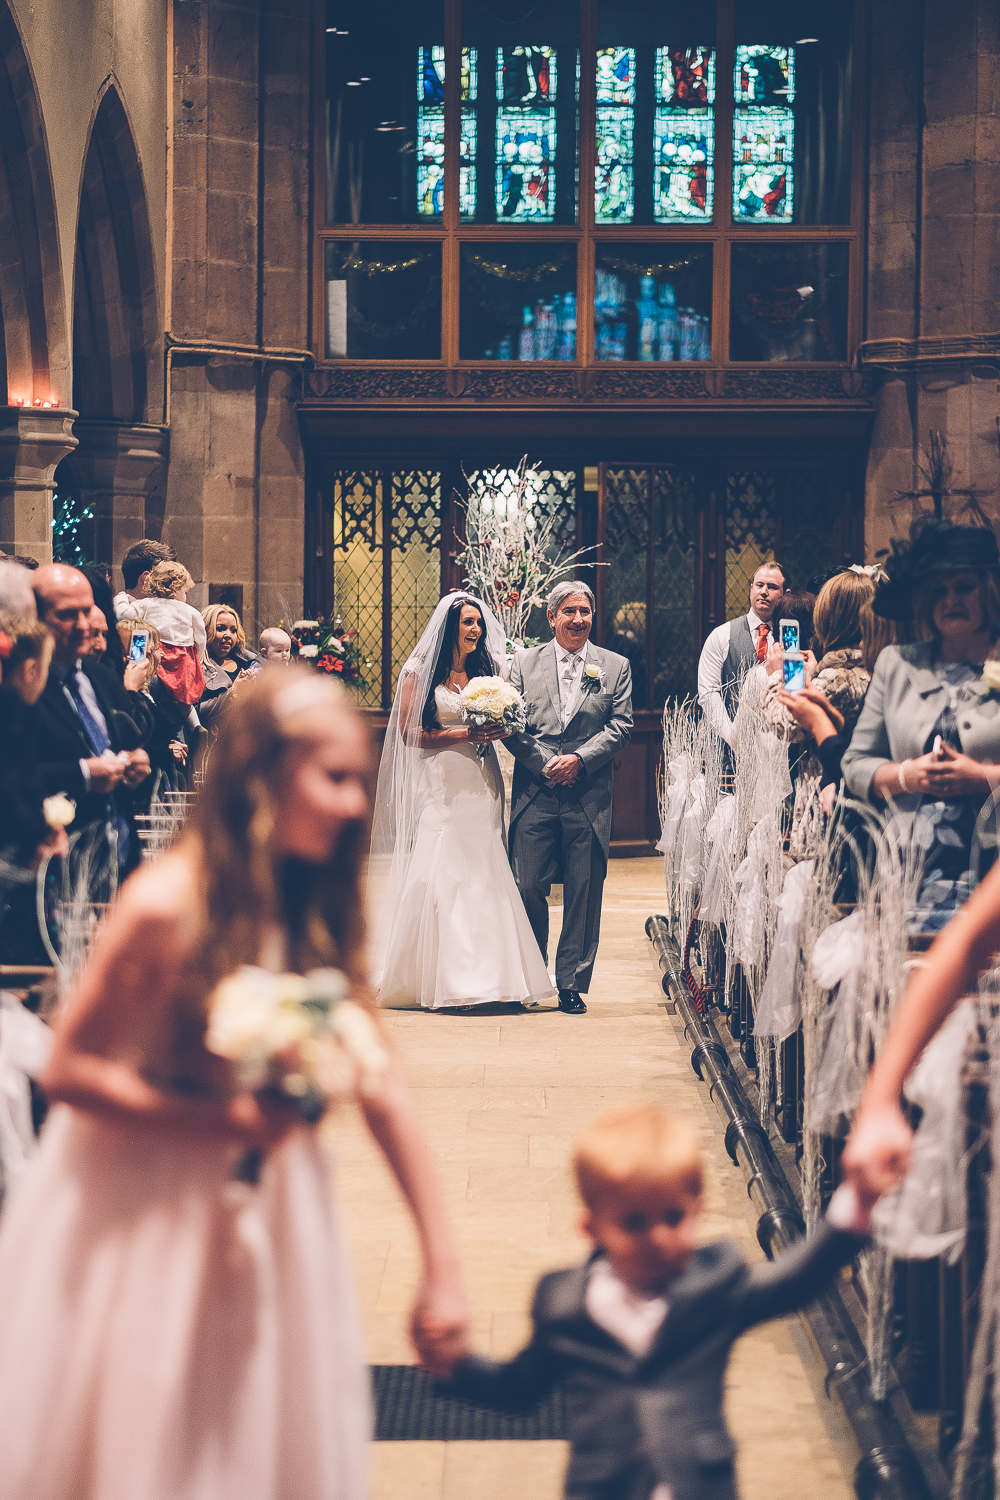
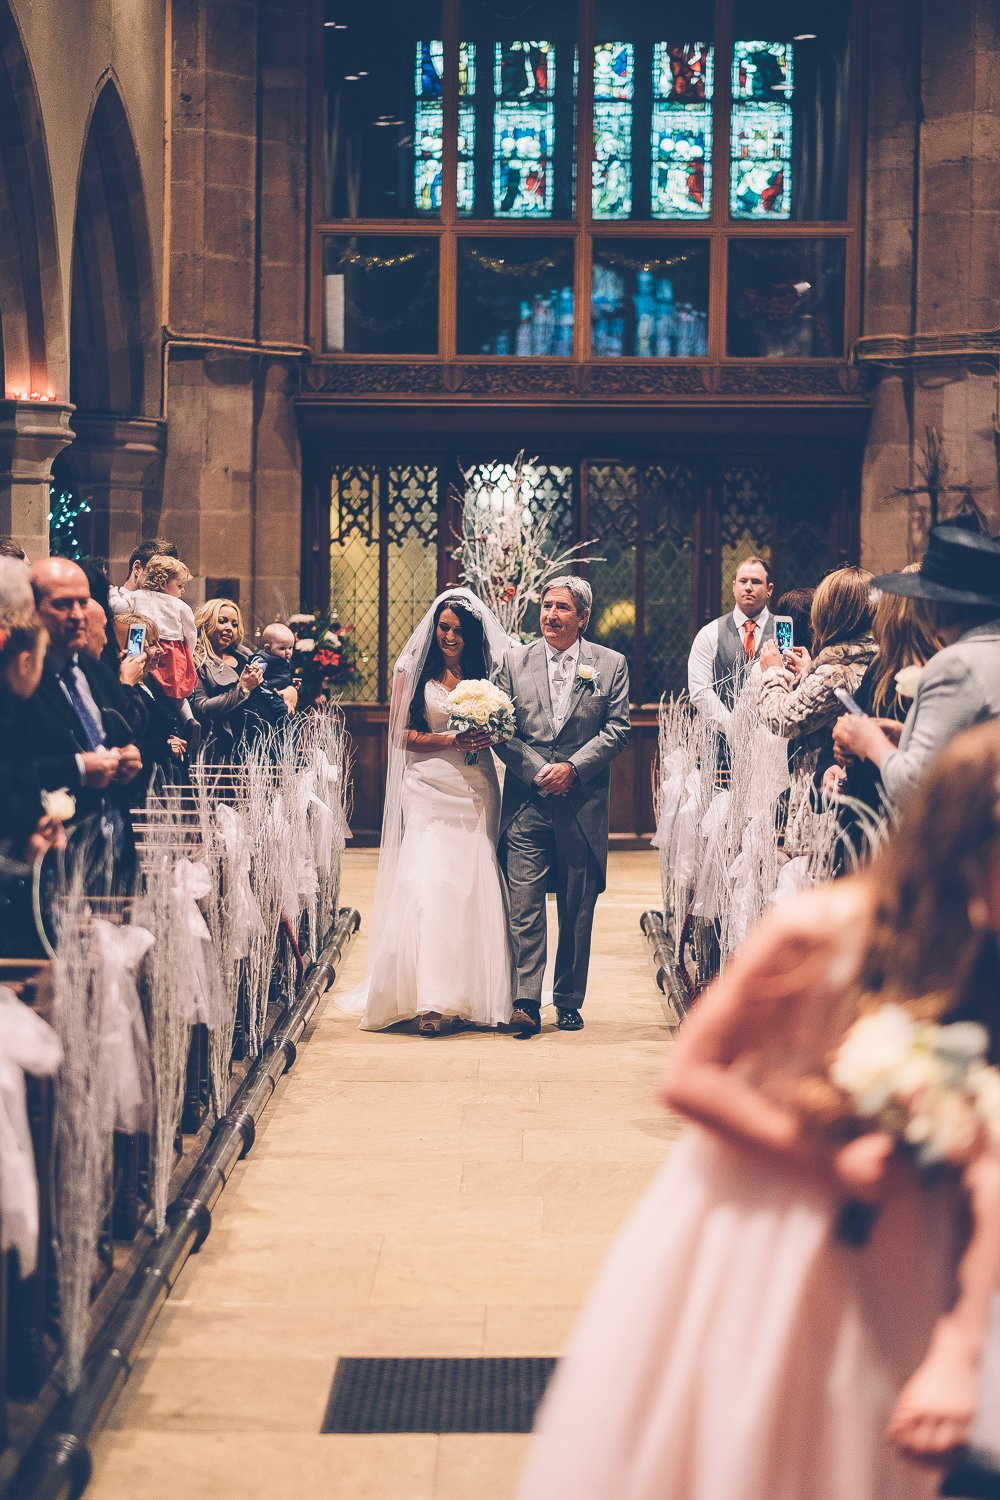
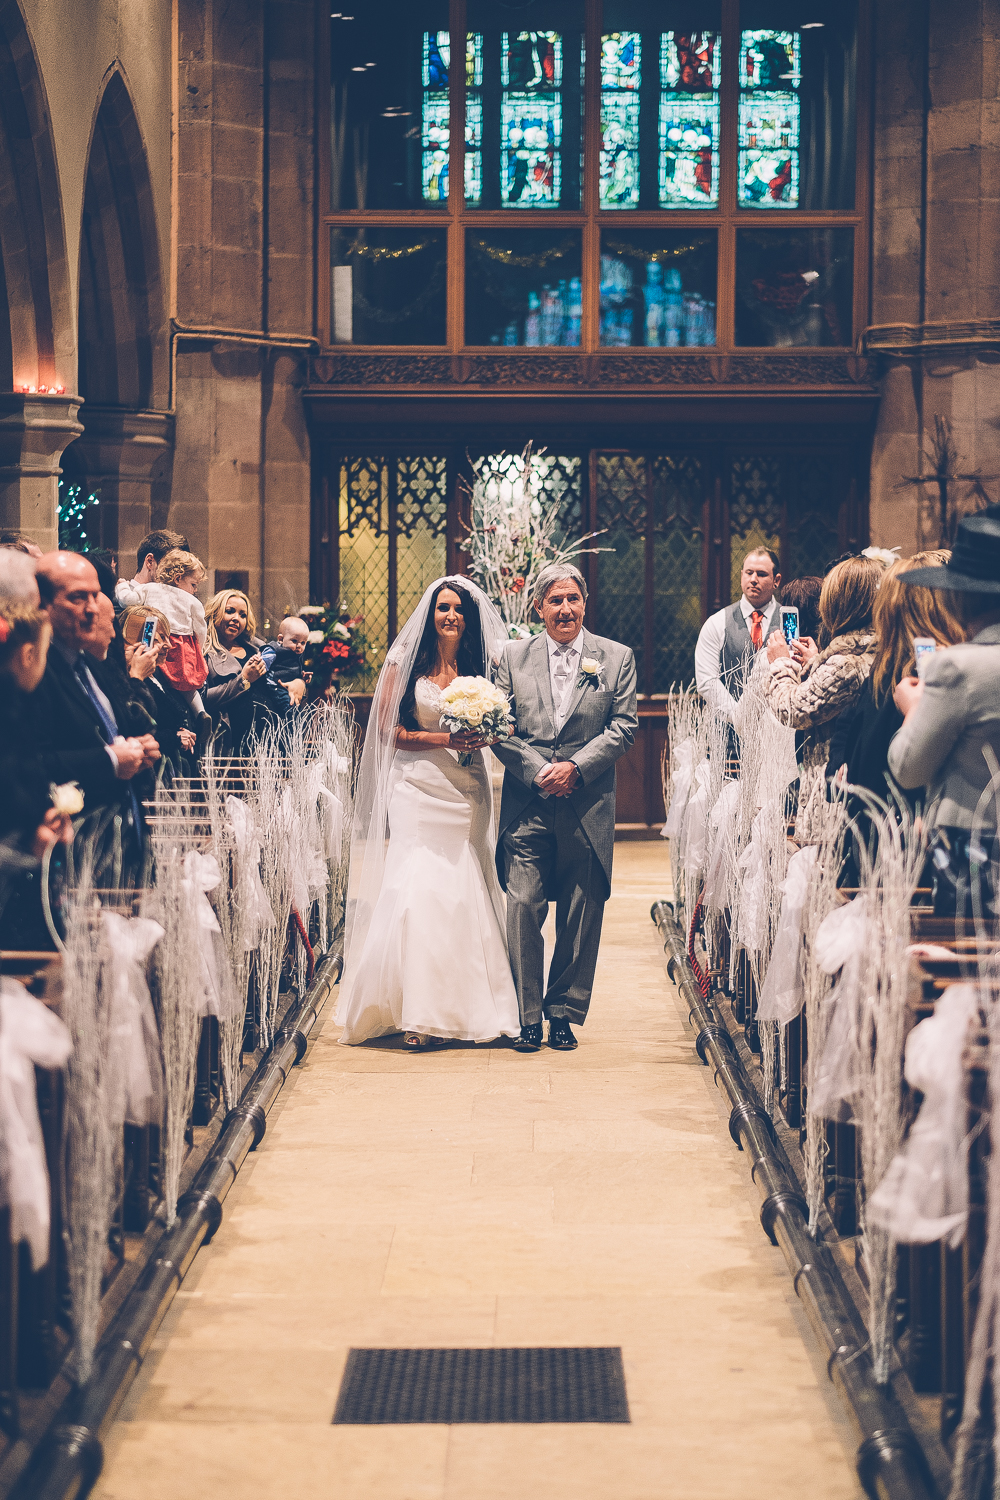
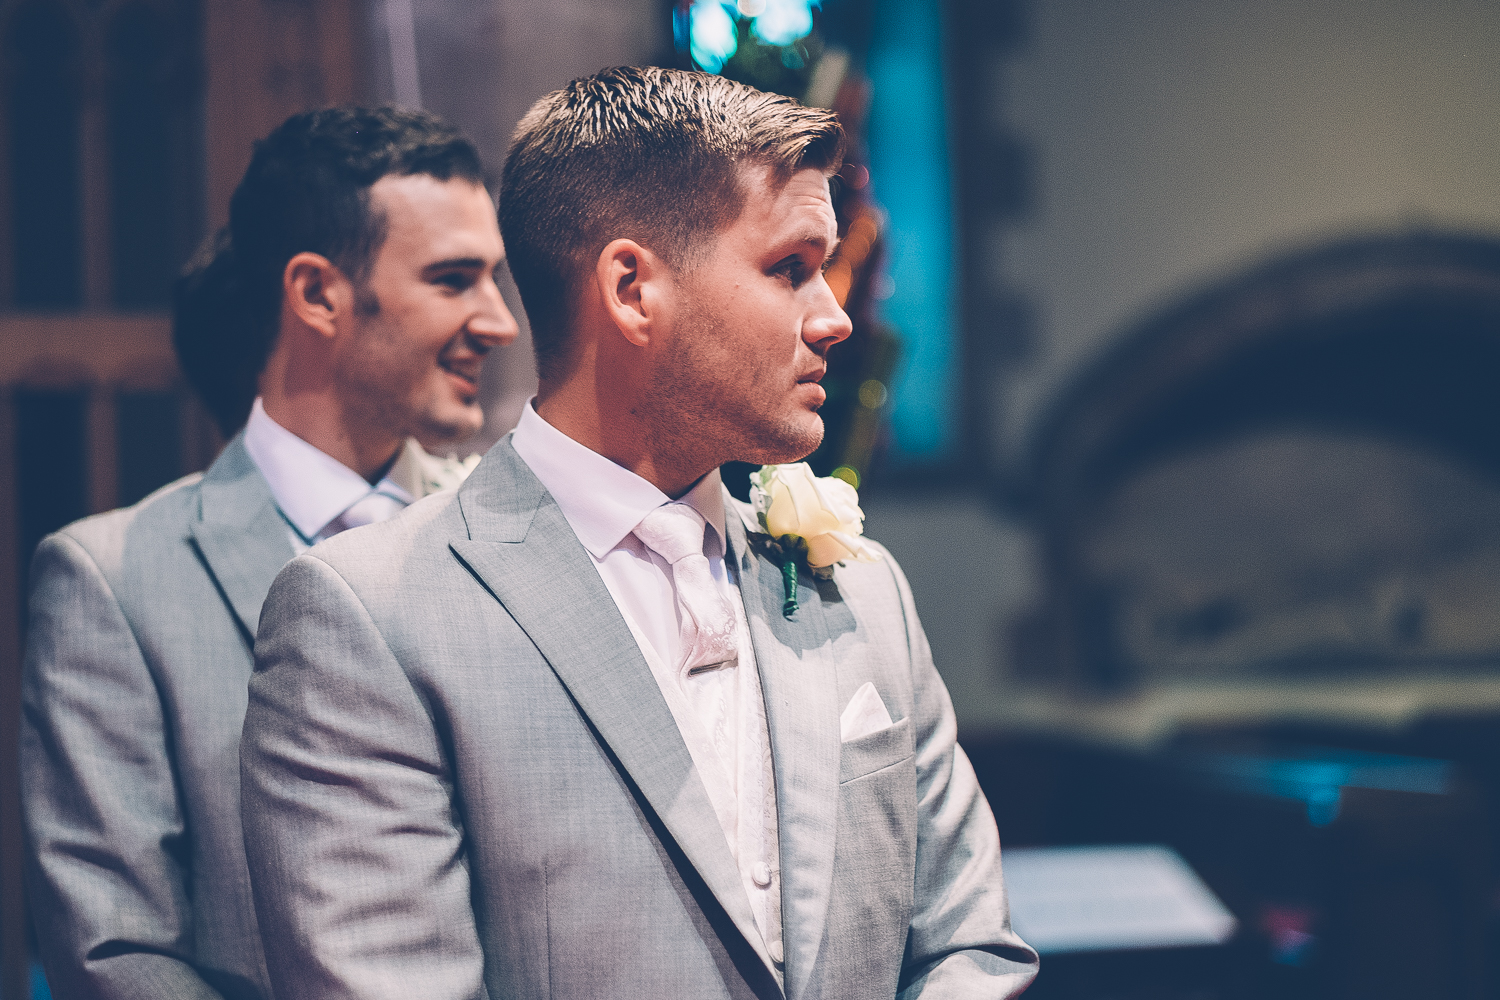
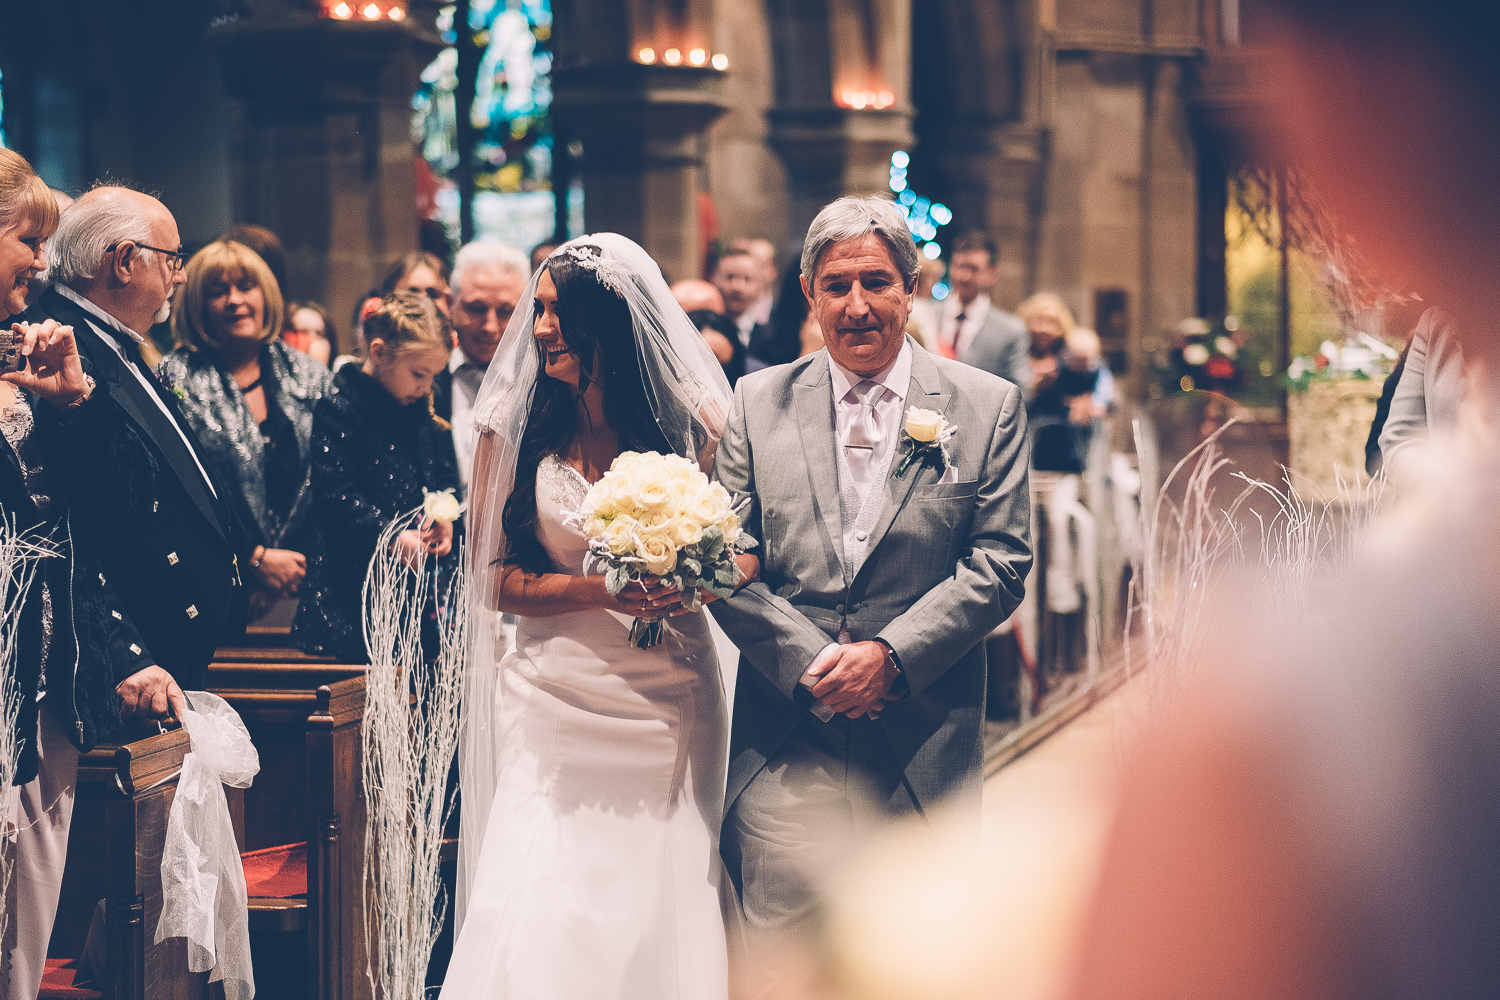
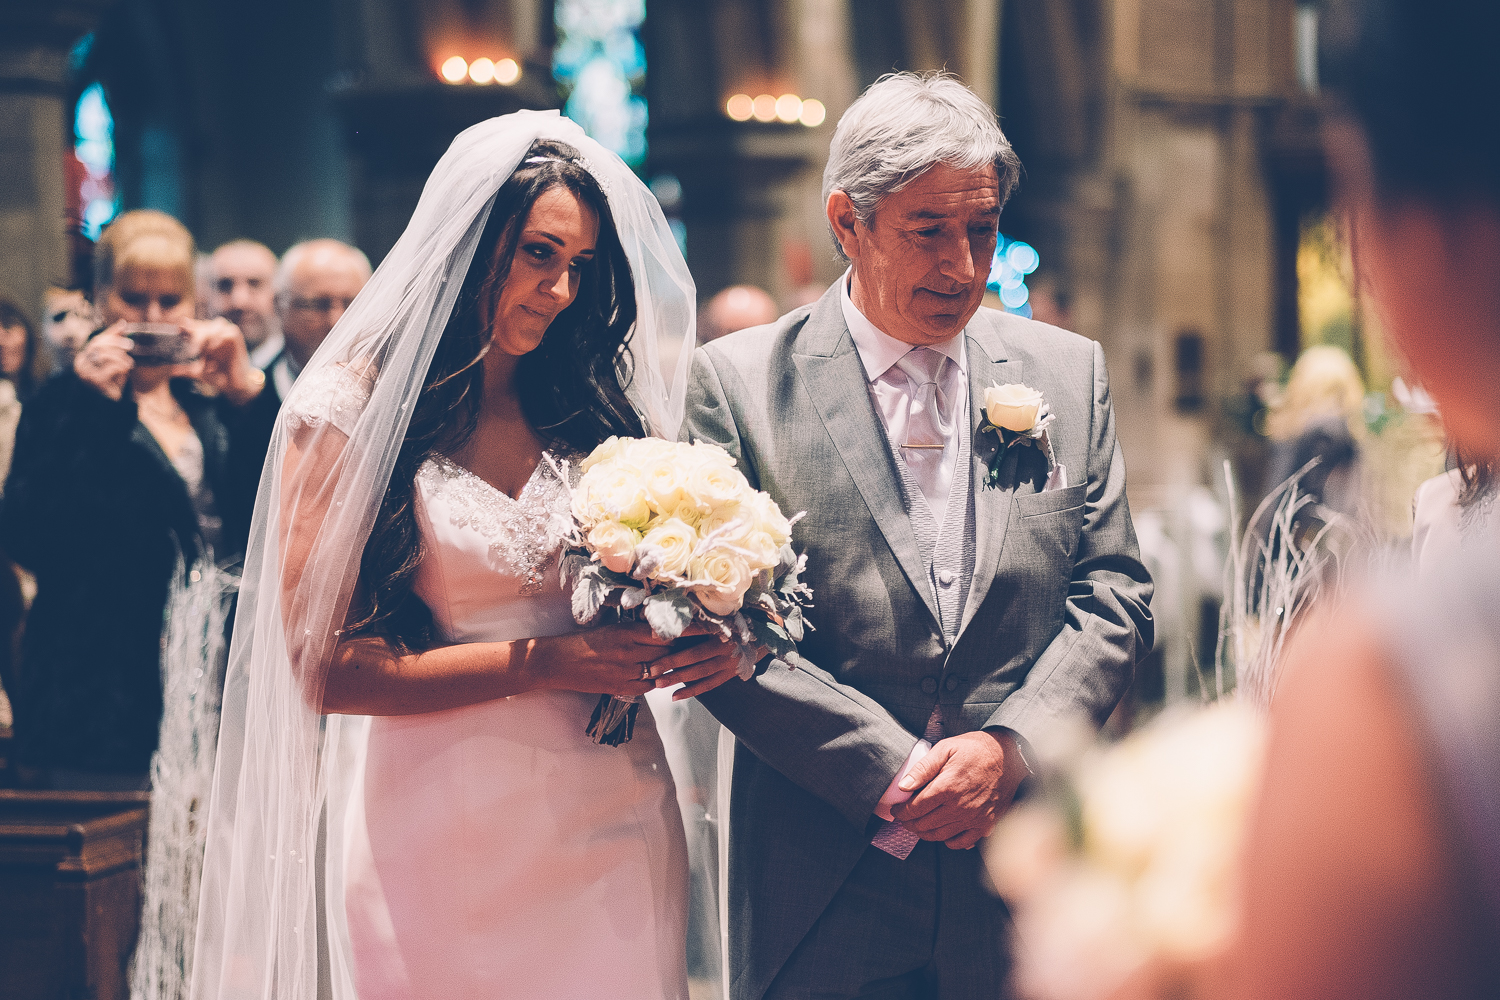
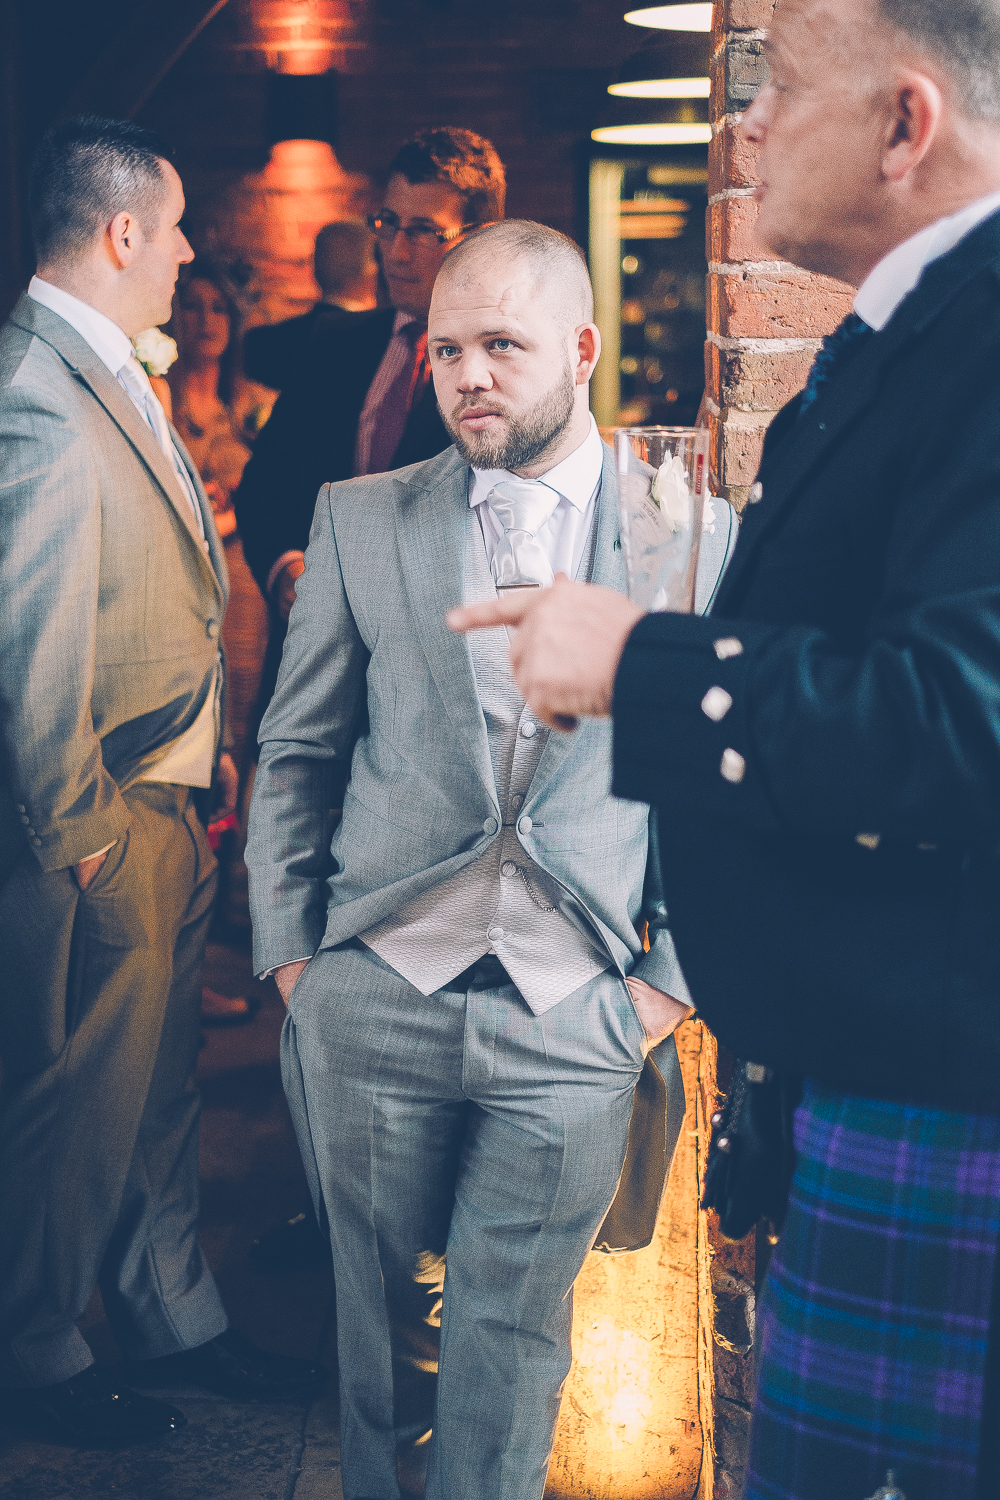
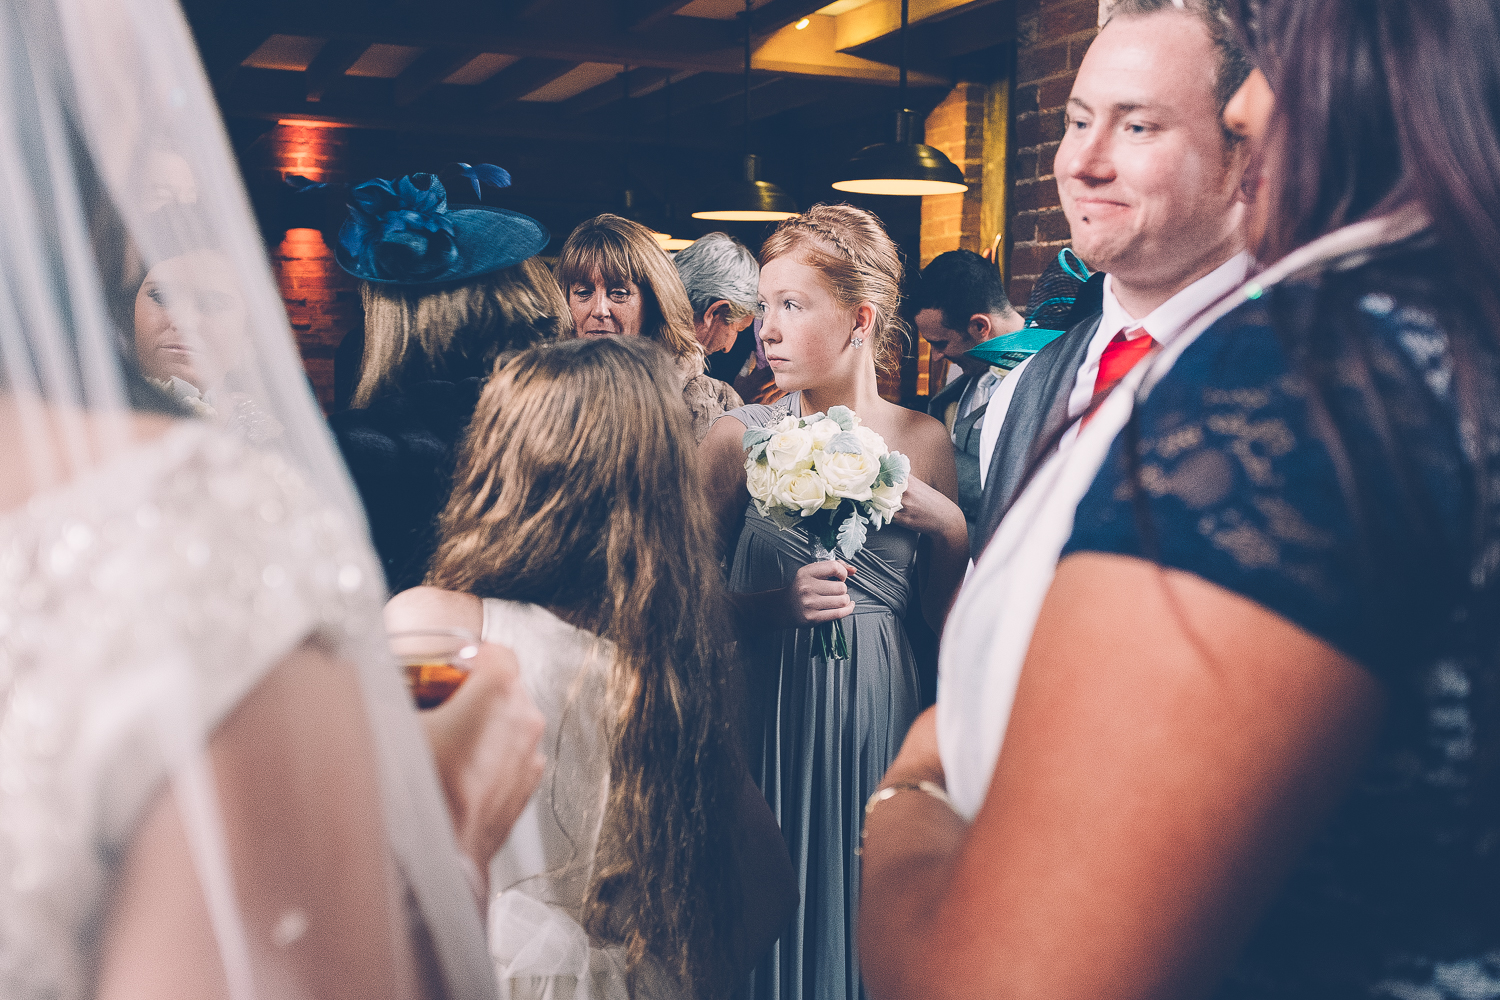
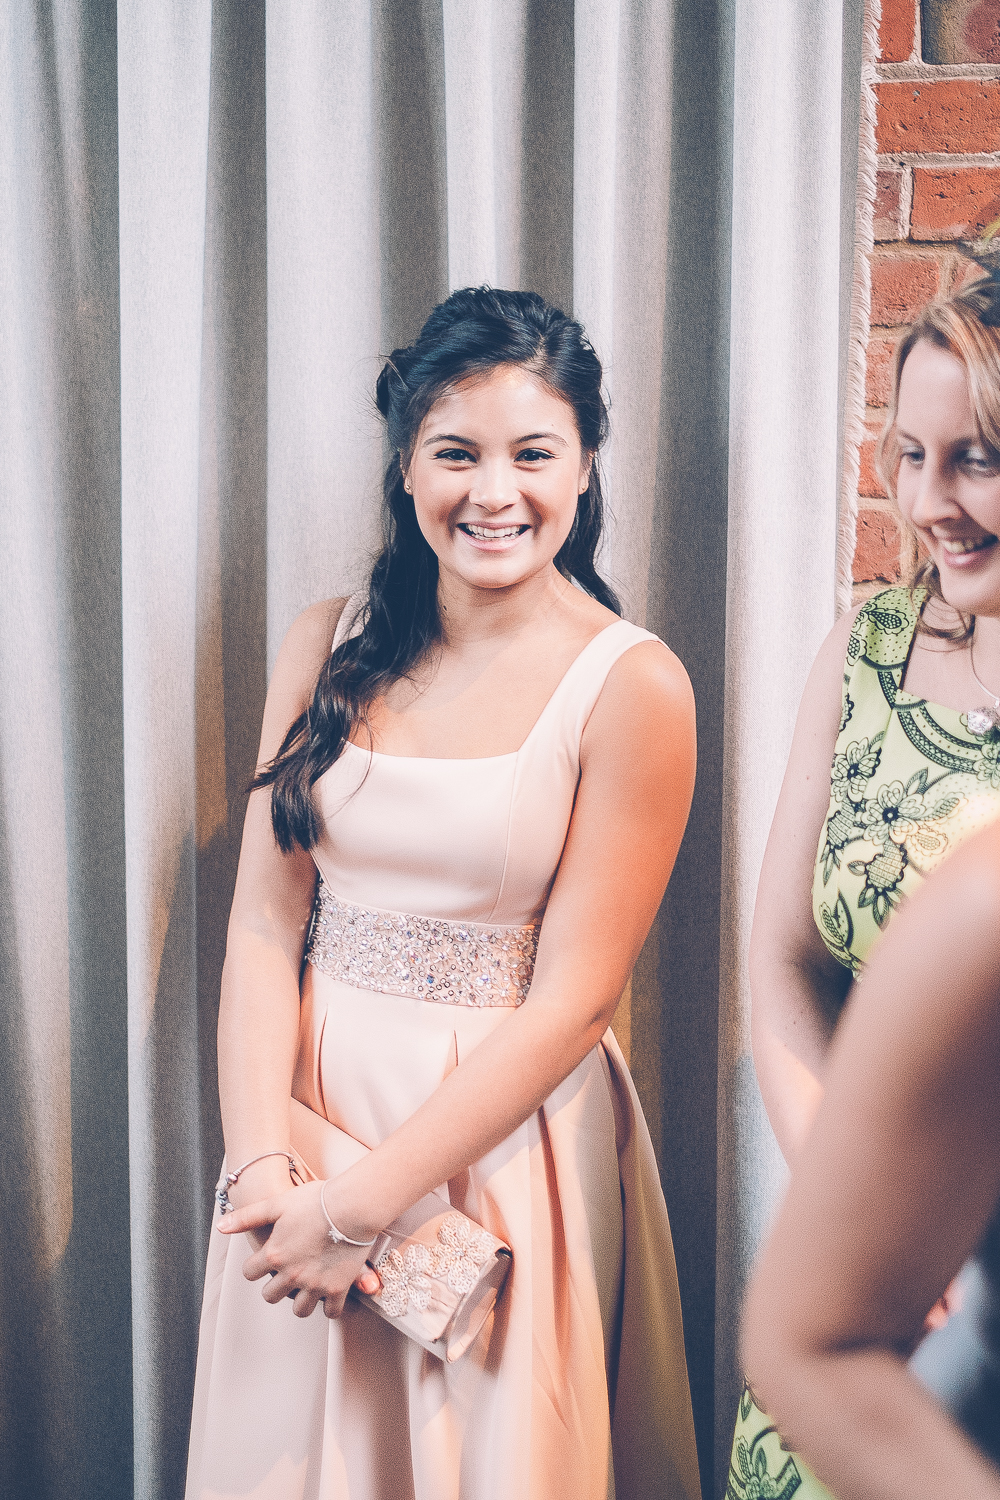
Above you can see the slideshow of photos. To me the images that came before are not as strong. They appear ‘flat’ with little depth. You can't see the faces of the guests either. I decided to move across to the right to grab a shot of the groom waiting for his bride & continued to shoot the Bride & her father as they approached. Here are where a few things come into play that in my opinion help to make this a strong image.
Firstly I tucked myself in behind one of the bridesmaids & used her to help add some depth to the photo. Having the bridesmaid out of focus in the foreground really does help to ‘put you in the scene’ making you feel more connected to the photo. Without the bridesmaid in the frame it would appear a little ‘flatter’.
Secondly is the equipment used. I don’t like to thank the equipment for ‘making’ photos but in this case it is helping. The XT-1 nailed the focus & the shallow depth of field created by the 56mm 1.2 at 1.2 helps to soften the background even at this distance, again helping to give that ‘cinematic’ feel.
The third thing that help this image is the post processing. Below is the original RAW file. As you can see the image is still strong. The composition is perfect (for my taste) & the exposure is about right already.
RAW file from the XT-1
Now that you have seen the original file here are some screen prints from Lightroom down below. I used one of a few presets that I currently have with just a tweak to the exposure. I believe they are VSCO based presets. As you can see a bit of Lightroom love goes a long way in achieving that ‘cinematic’ look. Flattening the image out in the tone curve, highlights & shadows sliders helps to give a slight film like look. This preset works well for this photo but it doesn’t always work. Sometimes this preset will flatten the image too much.
Feel free to copy & use this preset. But please post some of your images below. I hope you have enjoyed reading this post. It is a little rushed but I don’t have much time this week…
As always please Like, Comment & Subscribe.
Howard


